These Crispy Grilled Chicken Wings are my ultimate comfort food. When I was growing up in Singapore, we went to Newton Hawker Center for some of our favorite street food vendors. One hawker stall that we frequented served the most delicious crispy grilled chicken wings. Our family simply referred to them as the “Newton BBQ chicken wings” because that’s all they sold.
The chicken wings were marinated in a mysterious brine. Peering behind the counter, there were zero clues what ingredients were used.
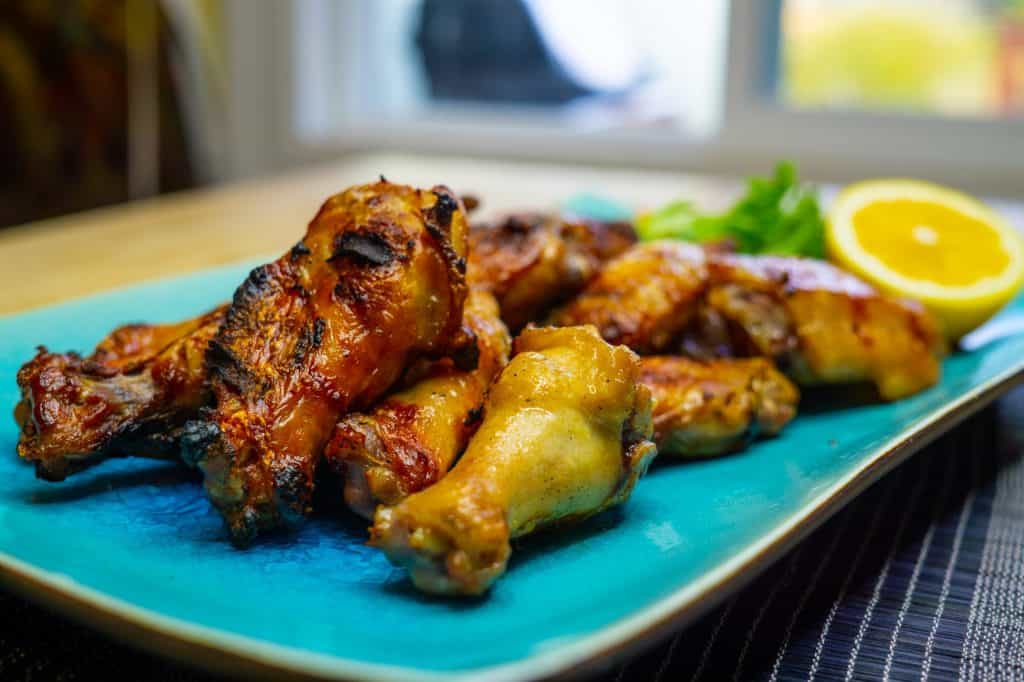
What I did see a tidy line of chicken wings skewered on a three-foot-long skewer. Stacked rank and file like soldiers, the chicken wings were grilled slowly over a low open fire. The result was the most tender and unbelievably crispy grilled chicken wing. A squeeze of calamansi lime added a sweet tanginess to every gorgeous bite.
Tip: If you can’t get calamansi limes, Meyer lemons make a decent substitute.
These Crispy Grilled Chicken Wings are addictive and super easy to make. I receive a large volume of requests from friends for this recipe.
A desperate desire for this familiar taste of home inspired me to recreate this mysterious bring recipe. I landed on a surprisingly simple one. It’s a mixture of Thai fish sauce, garlic, and fresh-squeezed orange juice.
Making the Fish Sauce Brine

While most western brines call for a large amount of kosher salt. But Thai fish sauce is like a ready-made saltwater brine packed with umami. Alone, it smells pretty funky, but used as seasoning adds depth and complexity to many Thai and Vietnamese dishes. It’s less common in Malaysian and Singaporean food.

Next, add fresh-squeezed orange juice or lemon juice to balance out the brine with a tinge of sweetness and some citrus. Crush a few cloves of garlic with a garlic press or chop it up finely with a knife. Add the garlic to the brine.
Brining chicken wings is the perfect way to ensure a moist and tender chicken wing. After the chicken wings have been marinated at least for 45 minutes in a large bowl or in a ziplock bag, it will be packed with flavor. There is no need for BBQ sauce, dry rubs, or hot sauce. The longer you marinate the wings, the saltier they will be.
Tips for Cooking Crispy Grilled Chicken Wings
When cooking these chicken wings on a charcoal grill, heat the grill till the cooking grate is hot. Then move the hot briquettes to the edges of the barbeque pit. The chicken wings are best cooked in the center over indirect heat.
The chicken wings can also be baked in an oven on a slow roast. The method is slightly different to attain that perfect crispy skin.
Busy Mom’s Time Saving Tip

Instead of marinating the chicken wings just before cooking them, start the brine as soon as you get back from the grocery store.
As you unload your grocery bags, separate the wings into dinner-size portions, and put each portion into a ziplock bag. Pour the brine into the ziplock bag, squeeze out all the air, and freeze the chicken wings with the brine.
When you’re ready to cook the chicken wings, simply remove the chicken wings with brine from the freezer. The brine and wings will thaw together and the wonderful flavors will soak into the wings. I always have a bag of marinated wings in my freezer ready to be tossed on the grill.
And I couldn’t be happier to share this Singaporean street food dish with you.
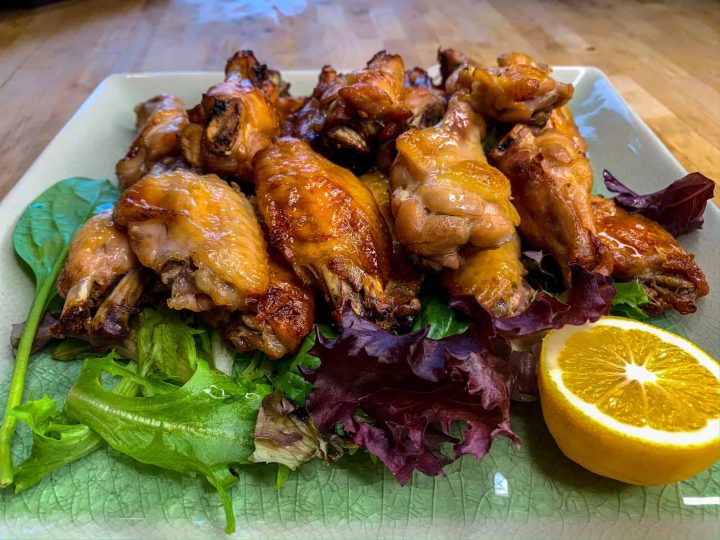
Singapore Crispy Grilled Chicken Wings
These crispy grilled chicken wings are inspired by the BBQ chicken wings that you commonly find in Singapore Hawker Centers. The chicken wing is brined in a simple mixture of four ingredients - flavorful Thai fish sauce, garlic, and orange and lemon juice. The wings are grilled over a low control heat resulting in a moist, juicy chicken wing with delicious crispy skin.
Ingredients
- 20 chicken wings (about 3 lbs)
- 1/4 cup of Fish Sauce
- 3 cloves of garlic crushed
- 1/2 cup of freshly squeezed orange juice (Meyer lemon juice can be substituted)
- Vegetable oil for basting
Instructions
- To make a super easy Singapore style chicken wing brine, combine the fish sauce, crushed garlic, orange juice/meyer lemon juice.
- Place chicken wings in a gallon size ziplock bag or a small casserole dish
- Pour the fish sauce and citrus brine all over the chicken wings. Remove air from the ziplock bag and seal. Flatten the bag so that the brine covers the chicken wings well. If you are marinating the wings in a casserole dish, cover the dish.
- Place in chicken wings in the refrigerator and allow the brine to soak into the chicken wings for 45 minutes-1 hour.
- Heat a gas grill on the highest setting
- Remove chicken wings from the brine, pat dry with paper towels. This will help the chicken wings to crisp up.
- Baste chicken wings on all sides with vegetable oil.
- When the grill registers a temperature of 500°F, turn the flame down to low.
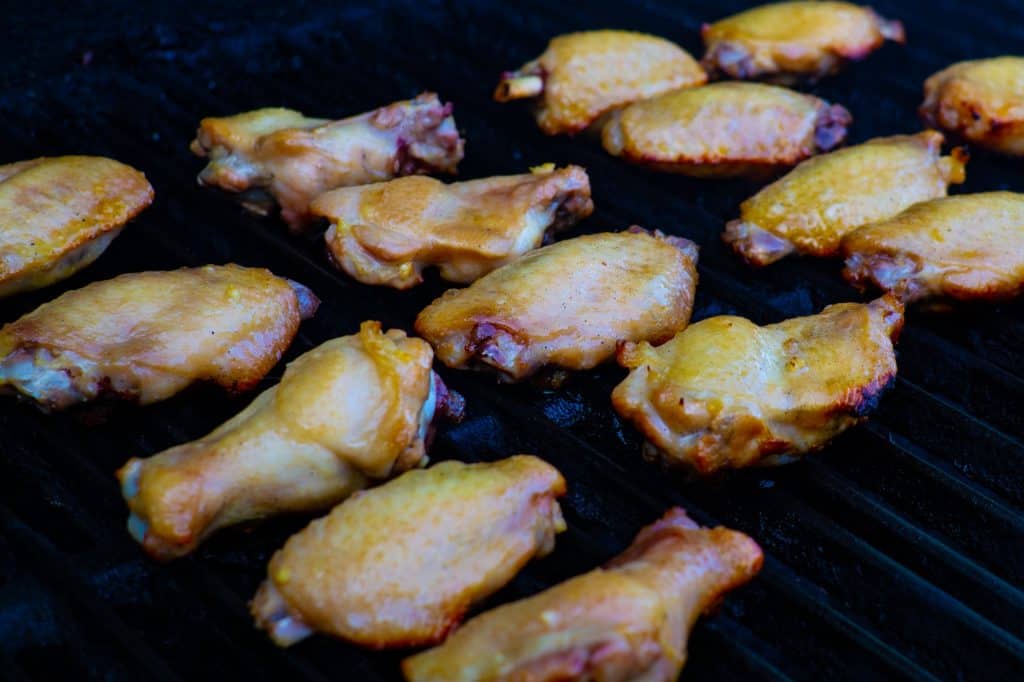
- Arrange the chicken wings on the grill. They should sizzle when you place wings on the grill but not flare up into a fire. Cover grill.
- Allow the grill temperature to drop to about 375°F and maintain this temperature. Grilling on a lower heat will result in a moist and crispy grilled chicken wing.
- When chicken wings are slightly brown on the underside (about 7 minutes) and they lift off the grill easily, flip the wings over and grill the other side (about another 5 minutes).
- Chicken wings are done when they are a nice golden brown and a little charred and cooked all the way through.
Notes
Tips for Perfectly Cooked Grilled Chicken Wings
- Orange juice from a carton tends to have a lot more sugar. You will have to watch the wings very carefully on the grill so that they don't get overly charred on the outside.
- Time-saving tip: marinate the chicken wings in brine overnight. Make a less intense bring with just 1/4 cup of fish sauce. You can place the marinating wings in the ziplock bag into the freezer. Take them out of the freezer the night before you want to grill the chicken wings. The wings will marinate while it is thawing in the refrigerator. Make sure they are fully thawed before grilling.
- Cooking wings at a slow temperature produces grilled chicken wings that are moist and tender on the inside but crispy on the outside. If your grill flares up into a fire, it's too hot.
- When grilling chicken wings over charcoal, before placing the chicken wings on the grill, move the hot charcoal briquettes to the edges of the grill, and place the chicken wings in the middle so that they are not cooking over direct heat.
Nutrition Information:
Yield:
4Serving Size:
1Amount Per Serving: Calories: 562Total Fat: 36gSaturated Fat: 12gTrans Fat: 0gUnsaturated Fat: 21gCholesterol: 110mgSodium: 781mgCarbohydrates: 36gFiber: 3gSugar: 18gProtein: 24g
Curious Cookery, occasionally offers nutritional information for recipes contained on this site. This information is provided as a courtesy and is an estimate only. This information comes from online calculators.