We eat so much bread in my family, and there is nothing as good as fresh homemade bread. This recipe makes three loaves of delicious fresh healthy bread, and it’s easy, especially with a stand mixer.
This bread, like most fresh breads, tastes best the first day it is baked. Because it is so easy and affordable to make, I usually give away one loaf every time I bake it. If you want to bring incredible joy to friends, surprise them with a loaf of this fresh bread every once in a while.
Any bread that is not eaten the first day it’s baked needs to be stored in an airtight container to keep from drying out. I use large ziplock bags, but you can also wrap the bread with both a large paper towel and plastic wrap to keep is fresh and moist for longer.
I make a batch of this Brown Rice Honey Wheat Bread at least once or twice every week since my husband and kids love it. It’s great for toasting in the morning and good for sandwiches.
After a couple of days, the leftover and drier bread is often used to make the best thick French Toast you’ve ever had. Cooking this slightly dry bread as French Toast brings it back to life in a super delicious way. Try my French Toast recipe.
When making this recipe, it is easier to knead and prepare the bread dough with a stand mixer. You can also knead the dough by hand if you choose. Make sure the dough is smooth and springy before leaving it to rise. Also, be sure that the room is not cold or the dough won’t rise properly. Room temperature for dough should be a temperature that you are comfortable in without needing a jacket. Also, be sure there is no draft.
I’m sure you will enjoy this recipe once you’ve successfully tried it.

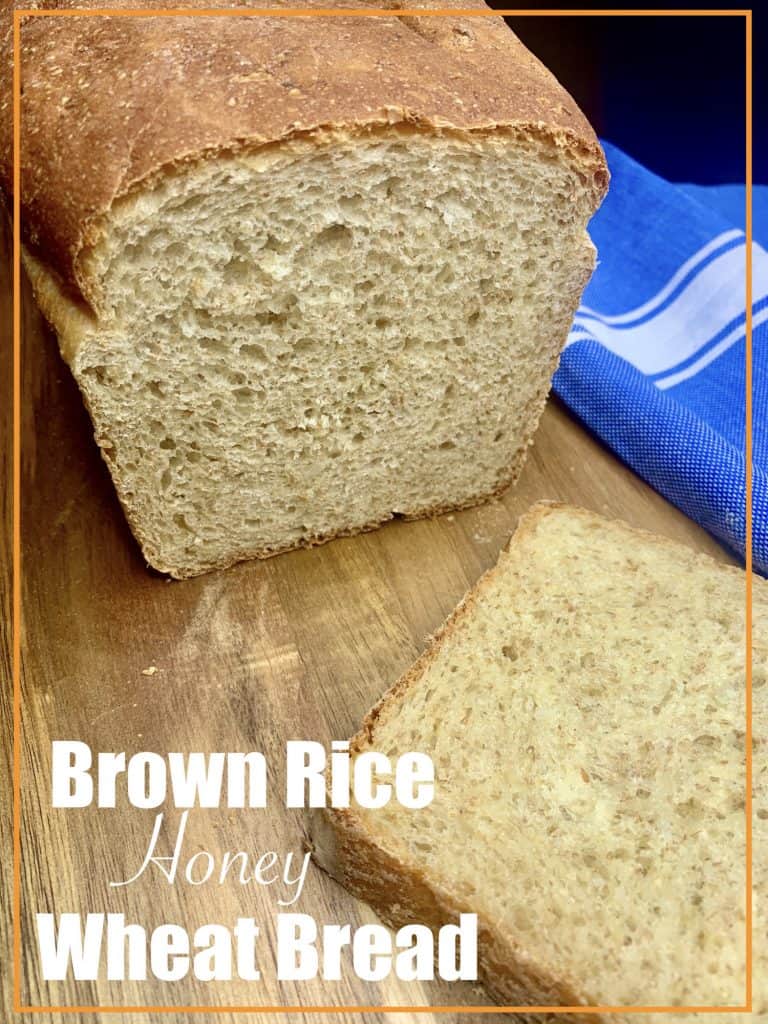
Brown Rice Honey Wheat Bread
I prepare this Brown Rice Honey Wheat Bread using a stand mixer. This recipe makes a delicious sandwich and toasting bread.
Ingredients
- 1 tablespoon sugar
- 1 cup warm water, about 105ºF
- 1 tablespoon yeast
- 2 cups brown rice, cooked until very soft
- 1 cup wheat germ
- 8 cups flour
- 1 tablespoon salt
- 1/2 cup honey
- 1/2 cup sunflower oil
- 1 cup plain yogurt
Instructions
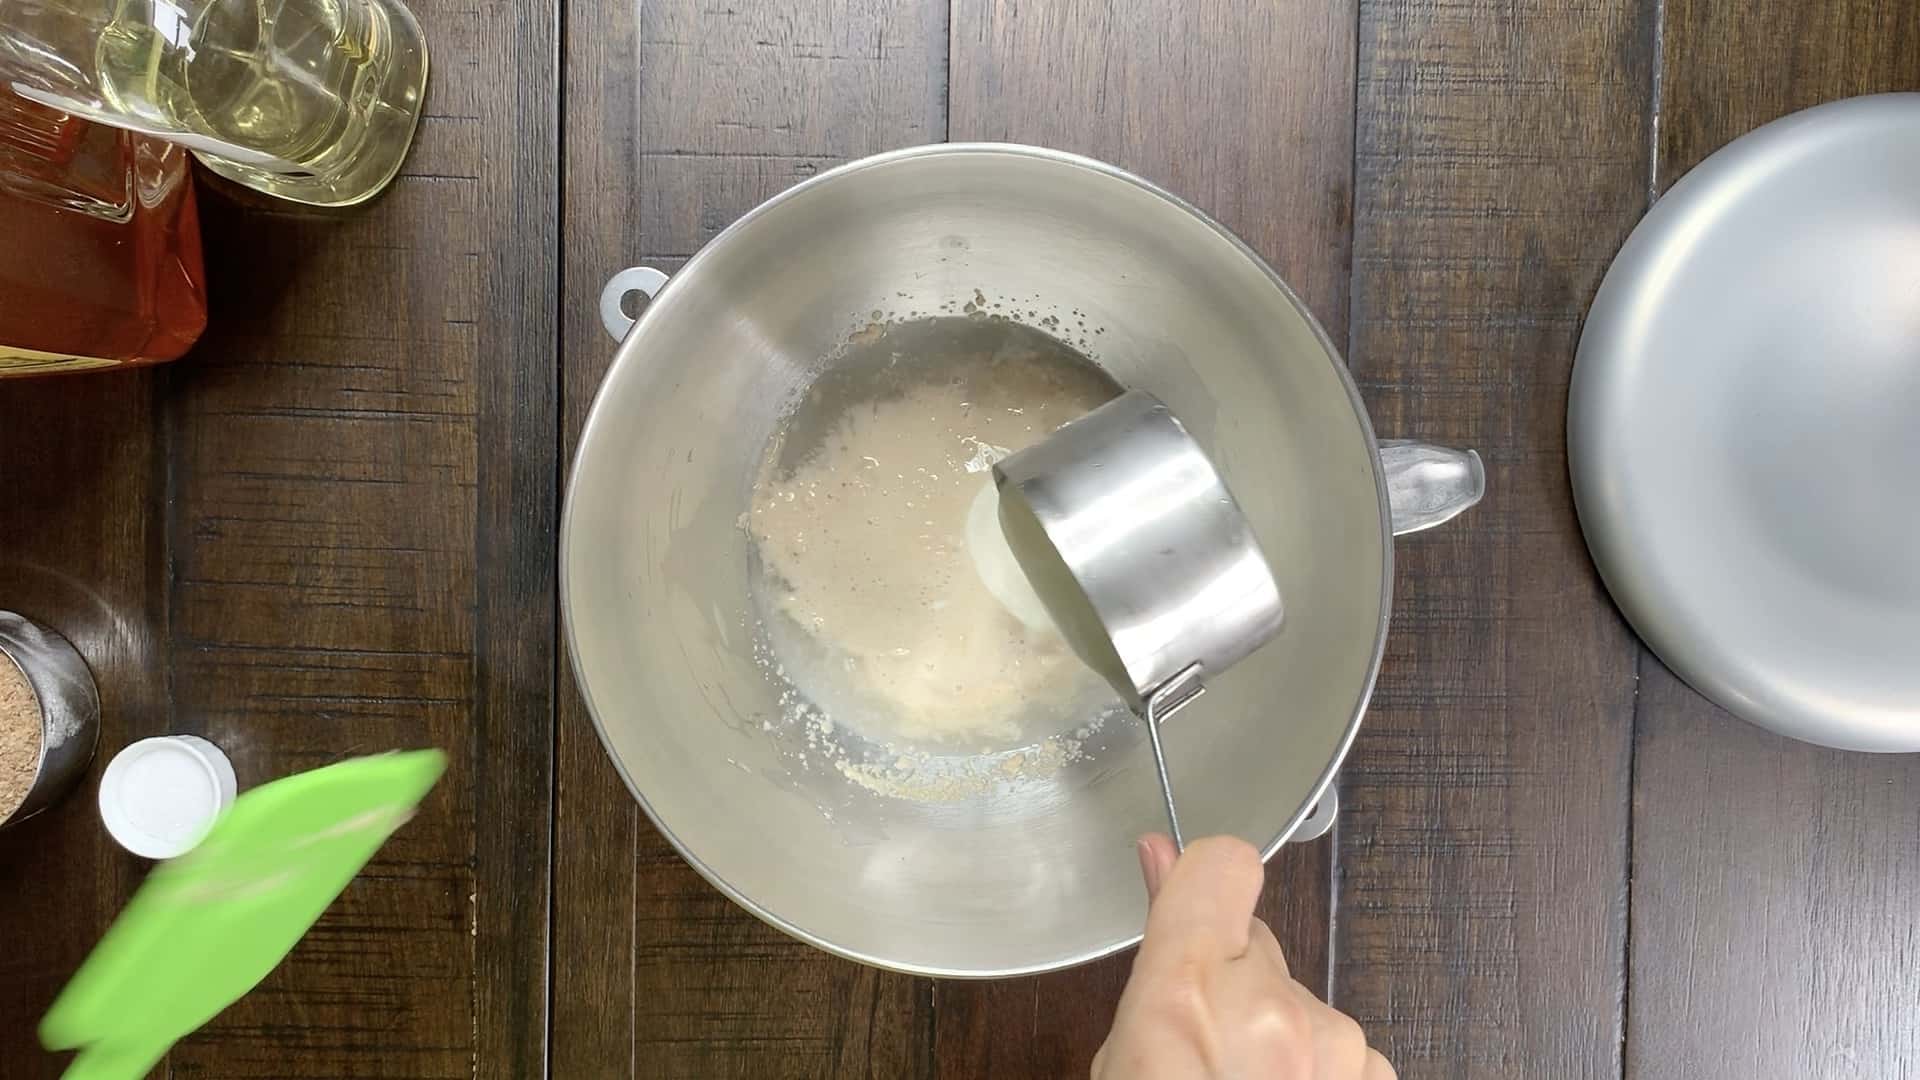
- Pour warm water into a large mixer bowel. Add the sugar and stir to dissolve. Add the yeast. Stir to dissolve. Leave at room temperature until foamy, about 5 minutes.
- Add the oil, honey, yogurt, soft brown rice, wheat germ, and salt. Hand mix with a wooden spoon until smooth. Add 4 cups of flour and mix by hand.
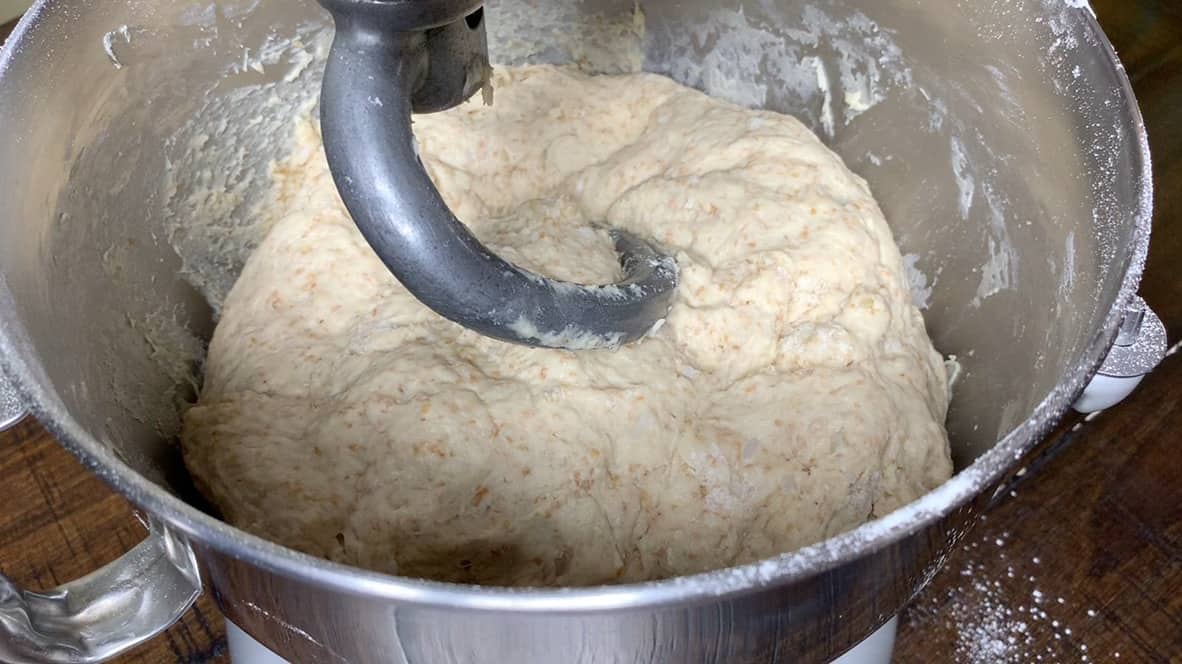
- Attach a dough hook to the mixer and turn it on at low speed. Add 1/2 cup of flour at a time until the dough is smooth and springs back when pressed, about 4 cups. Turn off the mixer to check that all the flour on the bottom of the bowl has been incorporated into the dough.
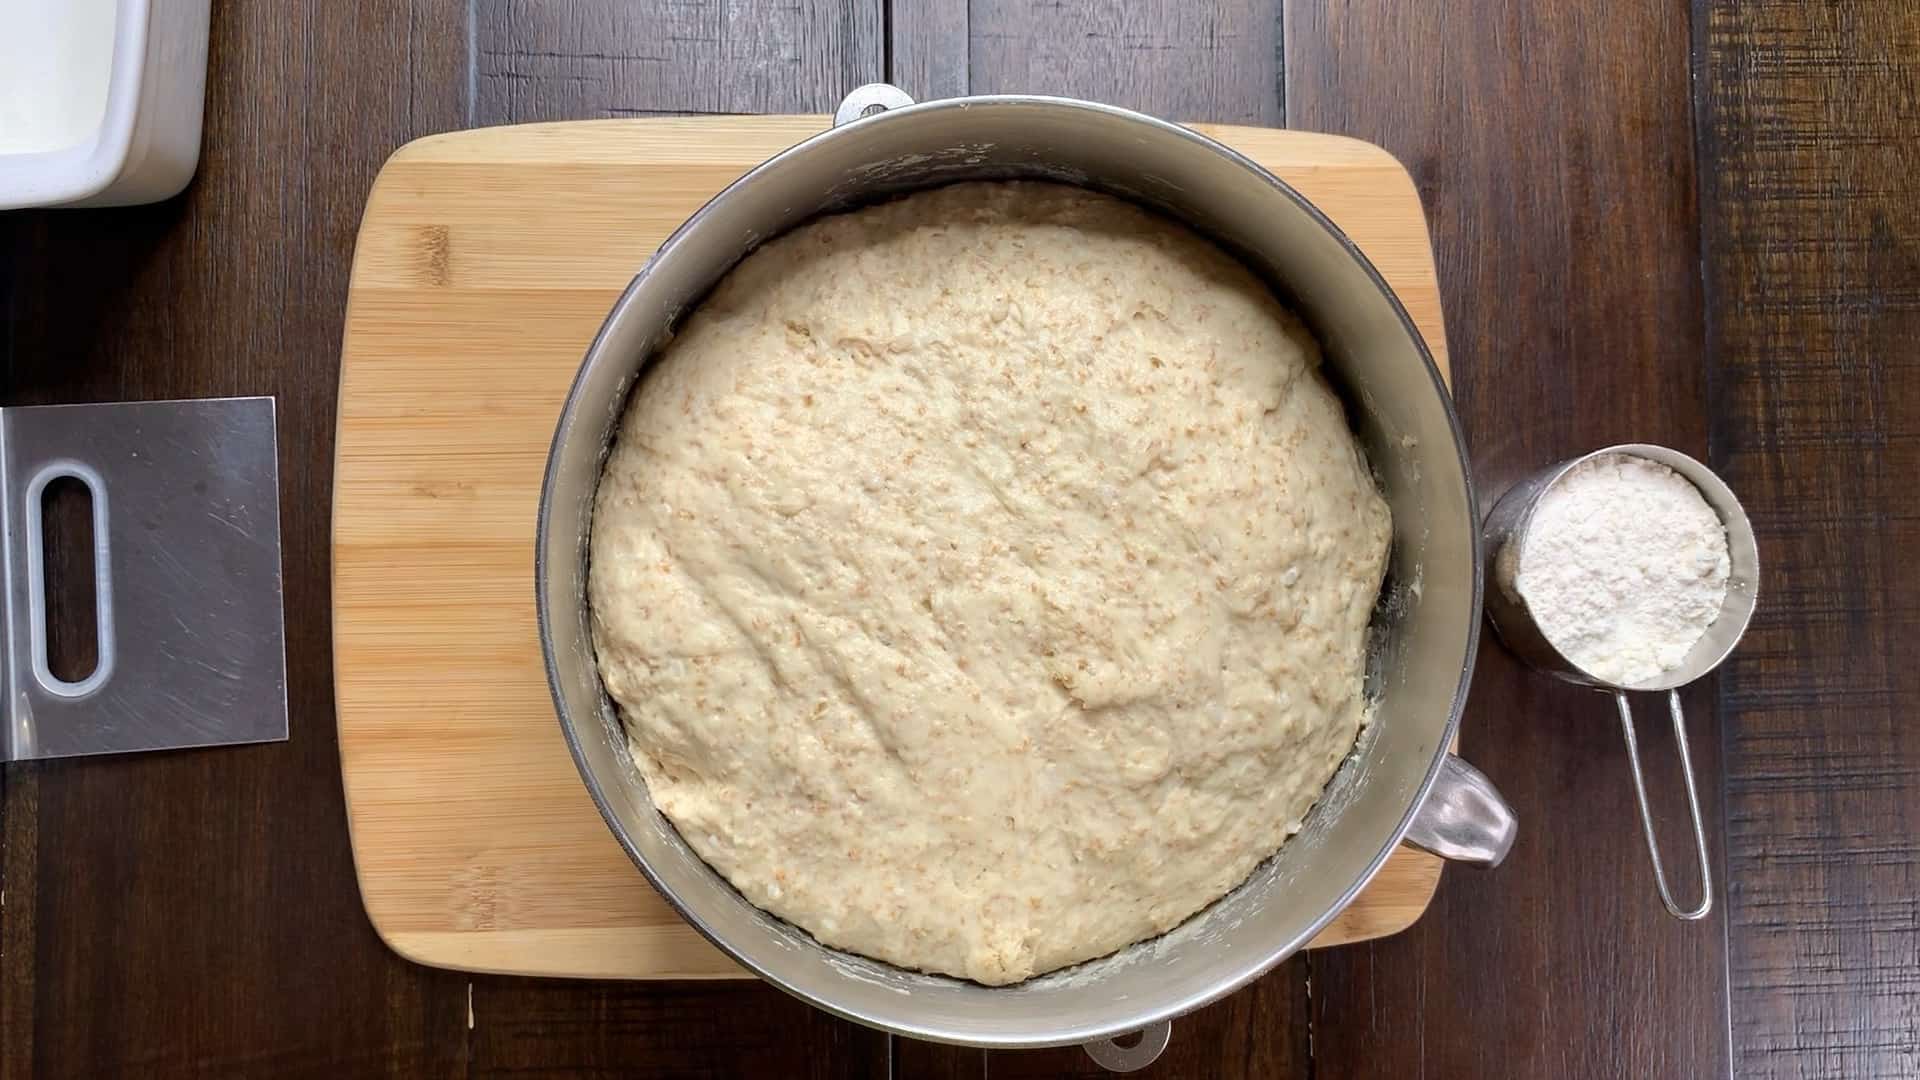
- Cover the mixer bowl with a plate and let rise at room temperature for 1 to 1 1/2 hours.
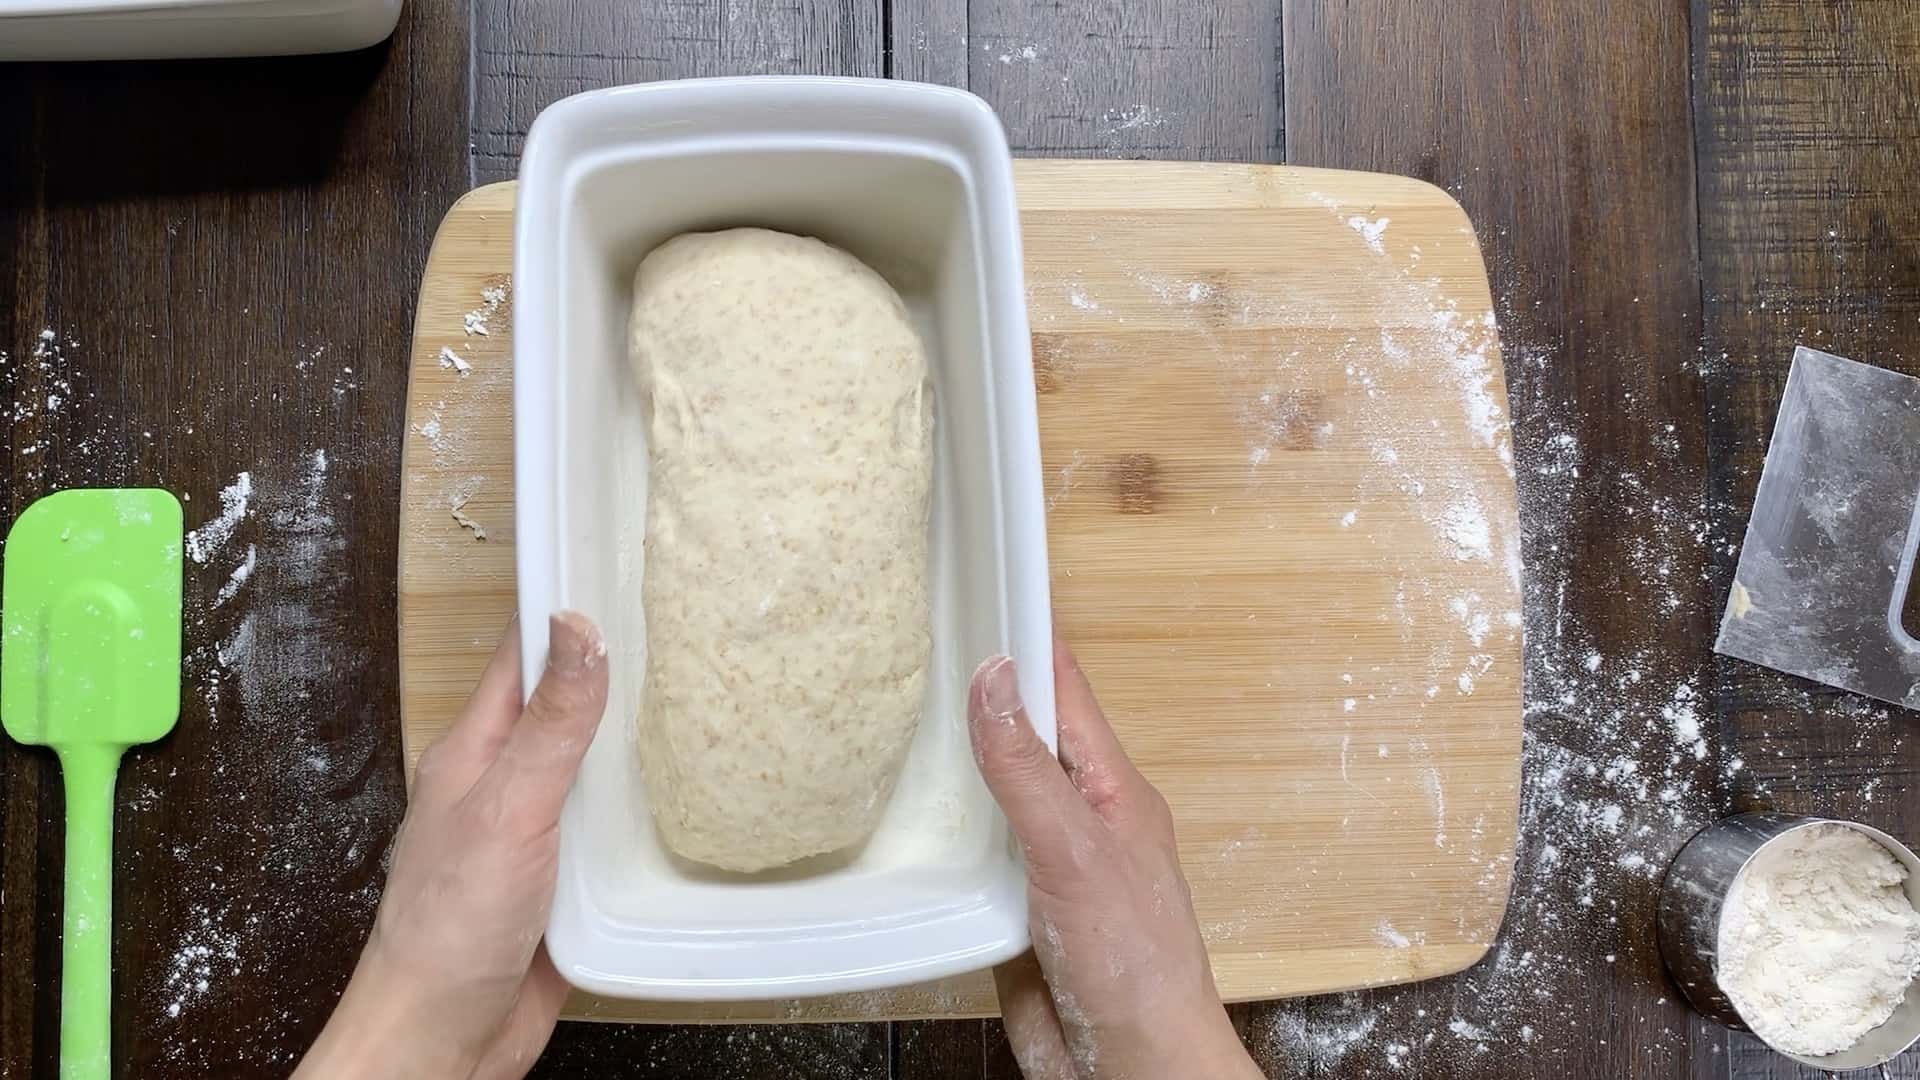
- Prepare three 9 inch x 5 inch bread loaf pans while the dough is rising. Grease the sides and bottom of the pans with butter, then dust the surfaces with flour.
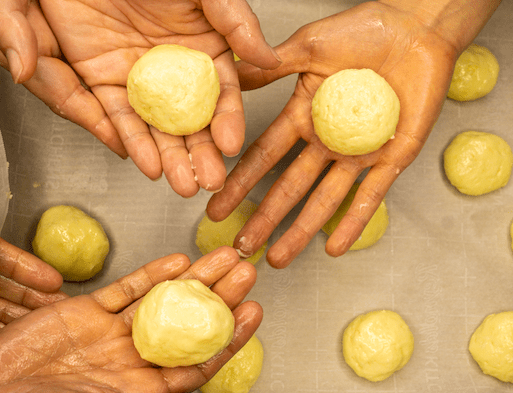
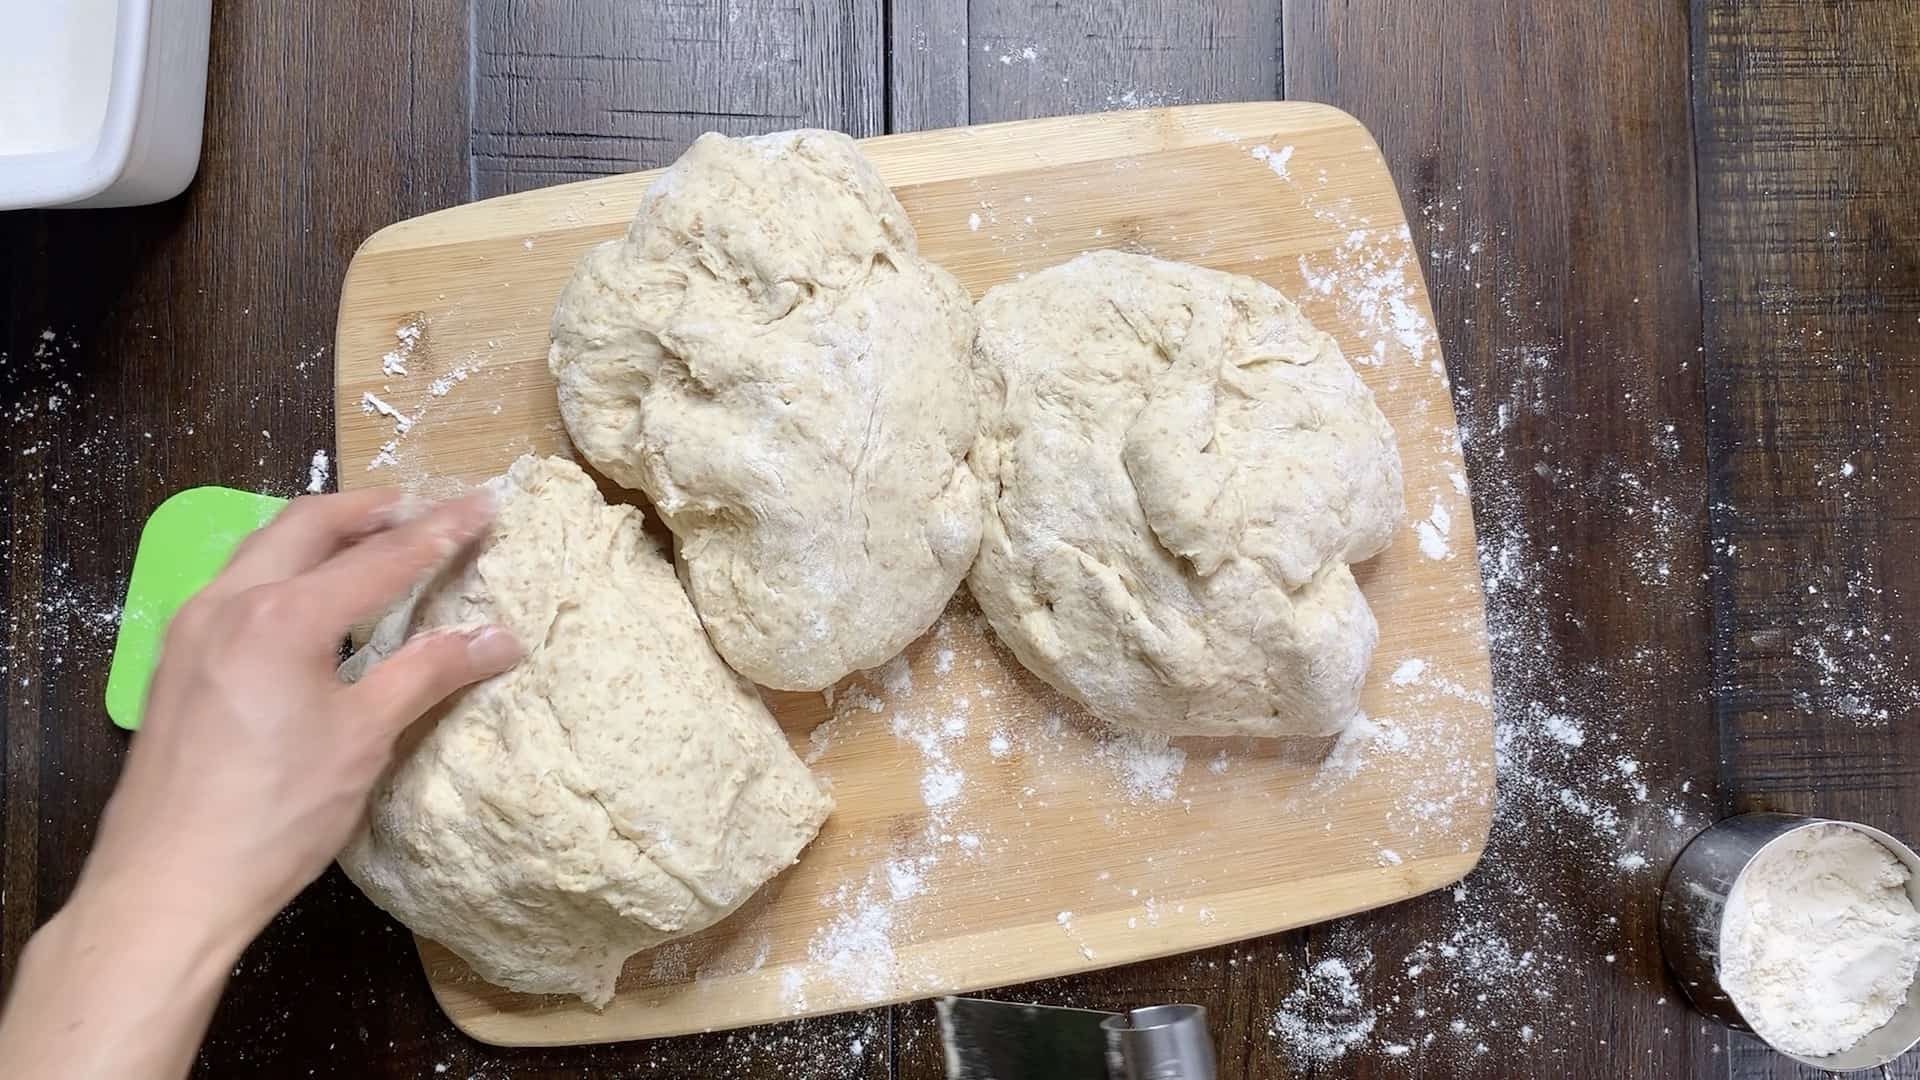
- Gently deflate the dough with a wooden spatular. Put the dough onto a lightly floured work surface. Use a pastry cutter or knive to divide the dough into 3 equal portions. Form the portions into loaves, and place into the loaf pans.
- Let the dough rise at room temperature, uncovered, until the dough rises level with the tops of the pans, about 60 minutes. Pre-heat the oven to 365ºF.
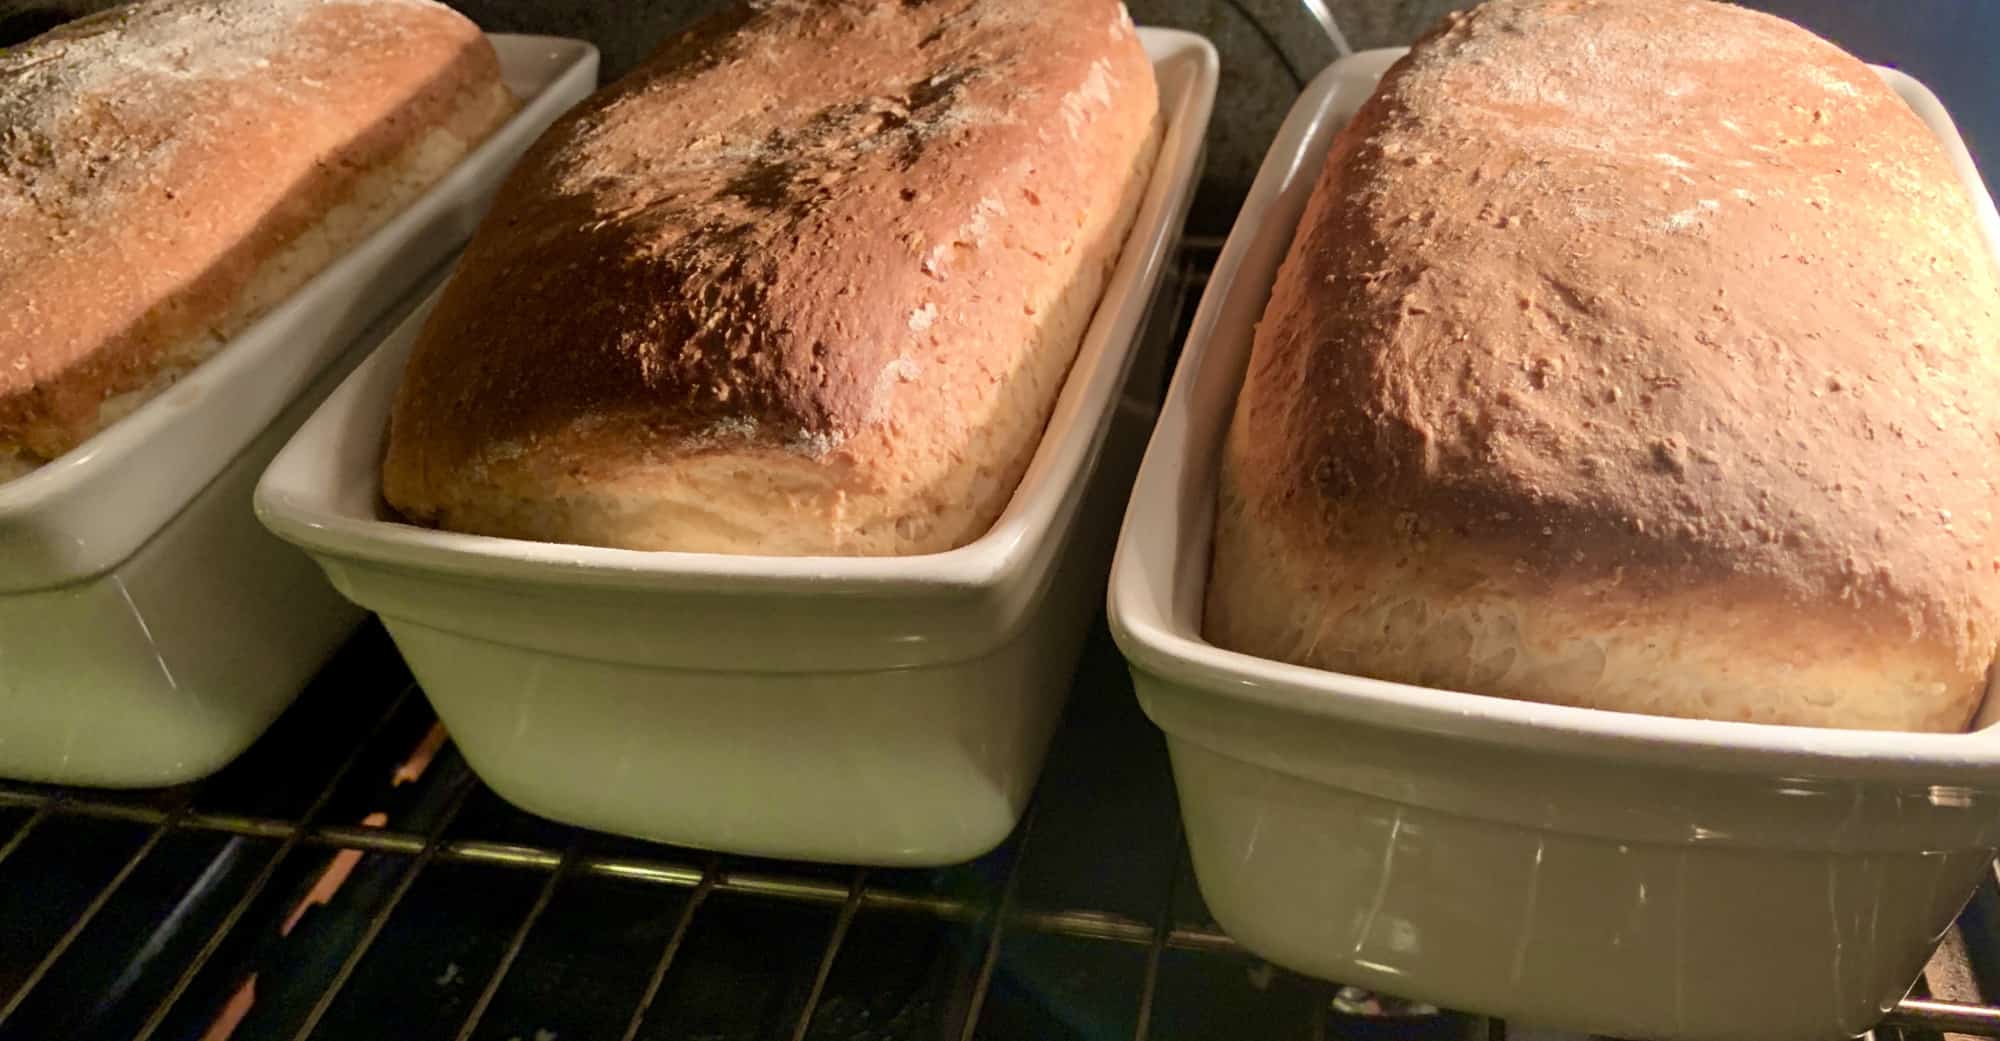
- Place the pans on the lower oven rack and bake 365ºF for 30-35 minutes, until browned.
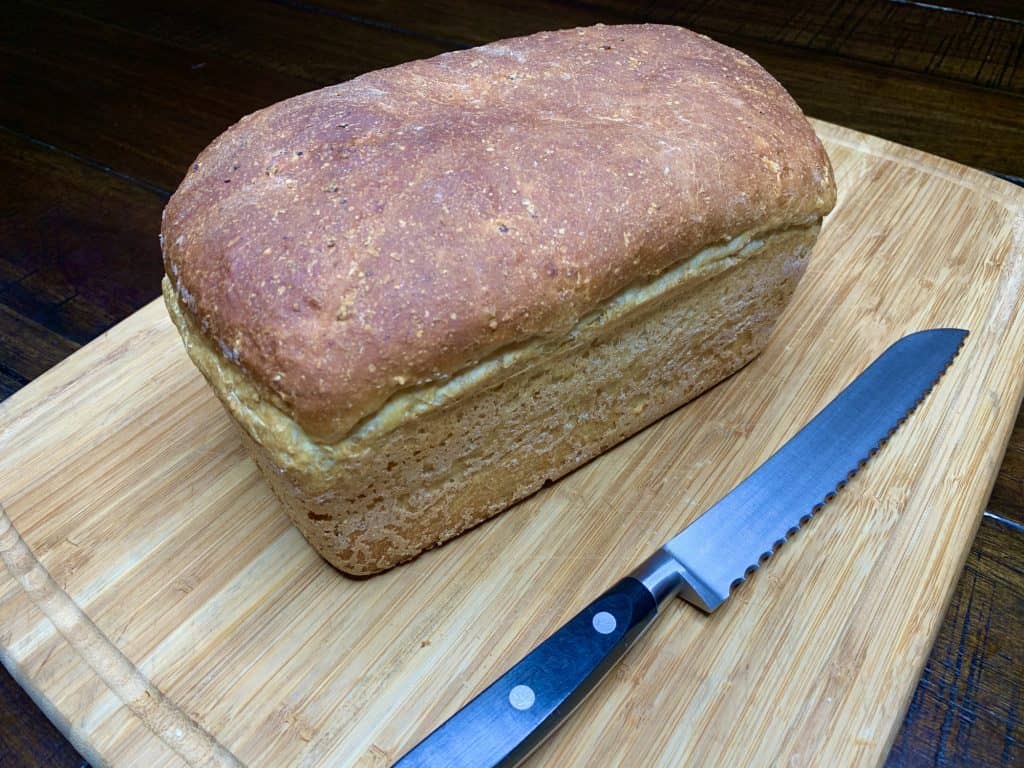
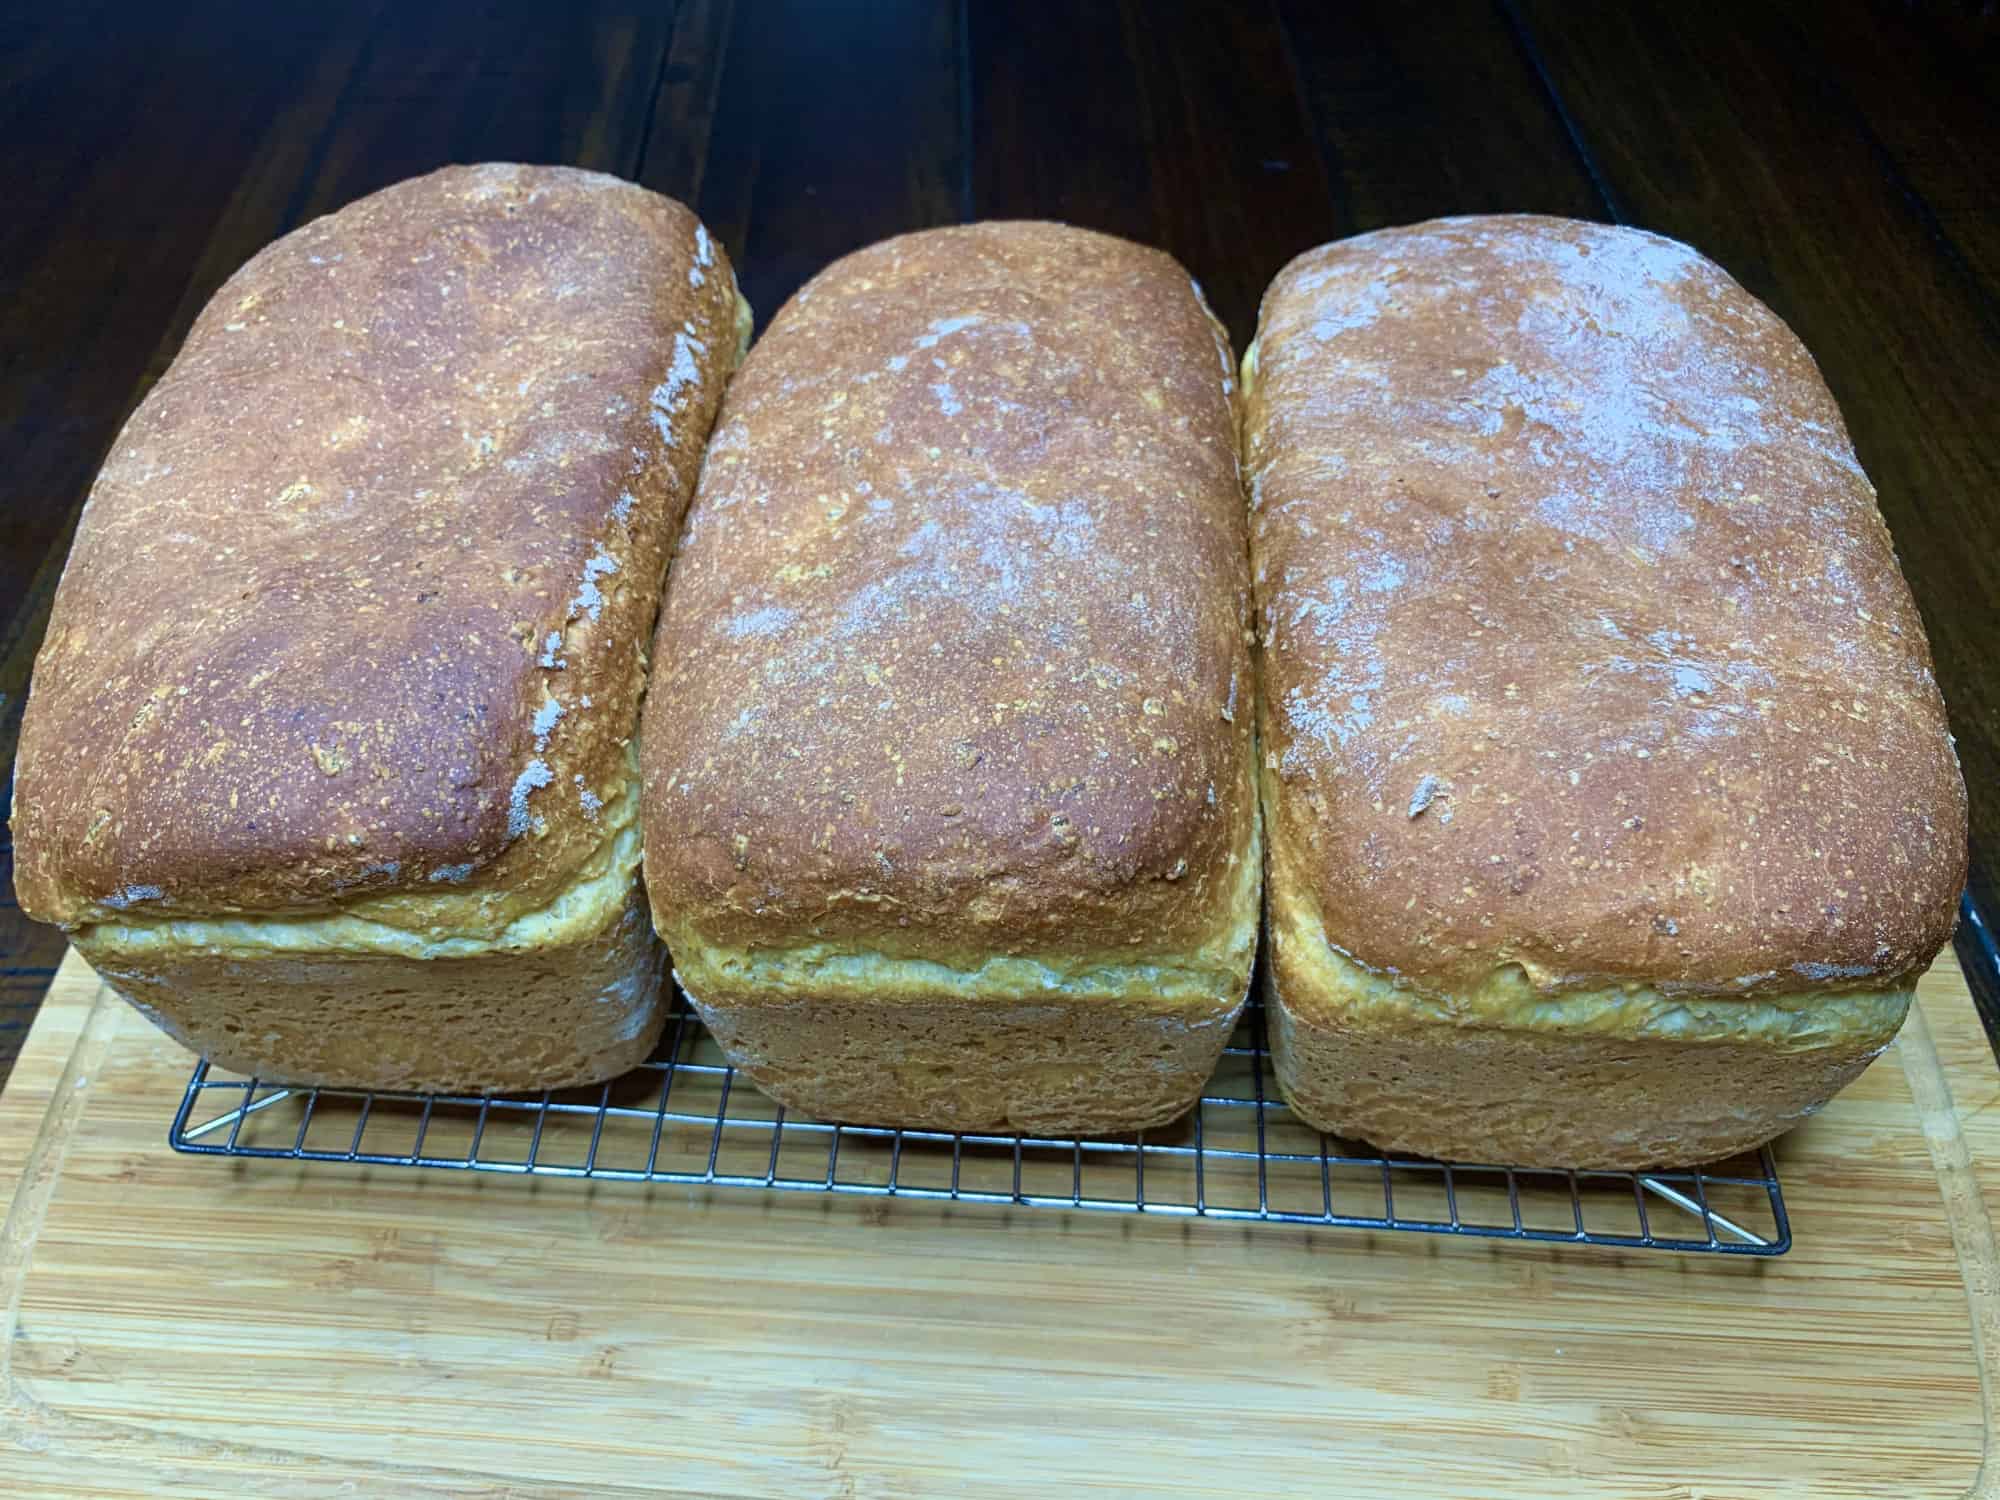
- Transfer the loaves to a cooling rack. Slice after cooled.
Steps 1 and 2
Step 3
Steps 4 and 5
Step 6
Step 7

Step 8
Step 9
Nutrition Information:
Yield:
30Serving Size:
1Amount Per Serving: Calories: 207Total Fat: 5gSaturated Fat: 1gTrans Fat: 0gUnsaturated Fat: 4gCholesterol: 0mgSodium: 219mgCarbohydrates: 36gFiber: 2gSugar: 6gProtein: 5g