Nectarine Strawberry Crumble

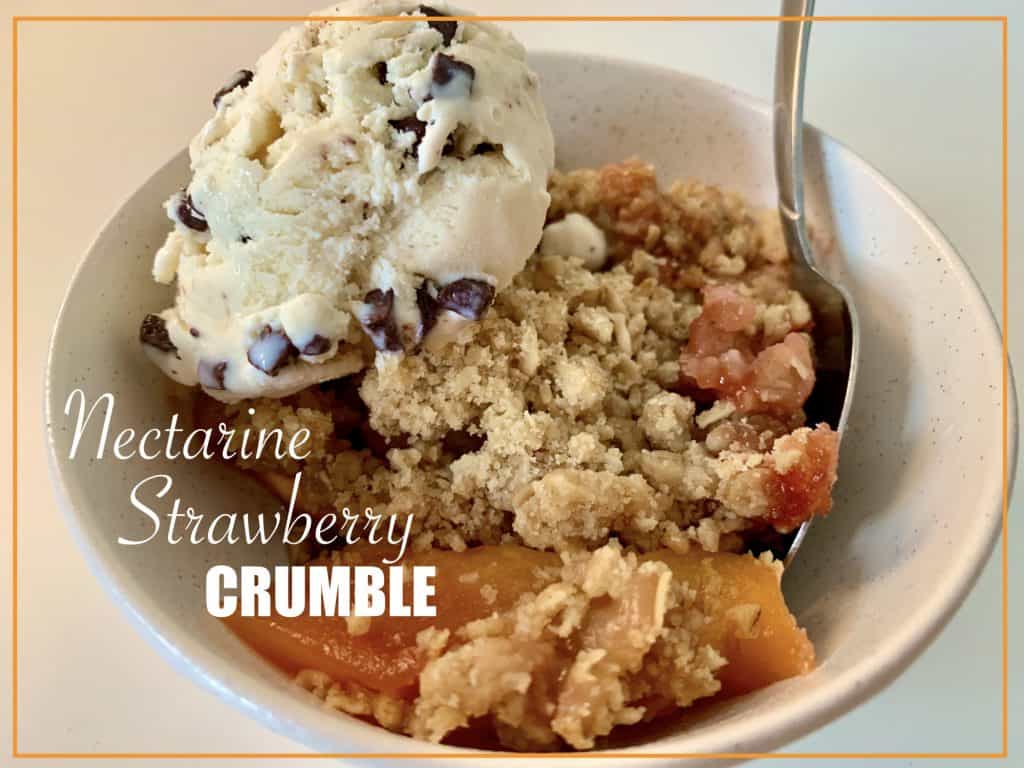
When nectarines are in season and fresh at my local farmer’s market, I buy enough to fill my fresh fruit bowl and to make Nectarine Strawberry Crumble.  I normally make this as a dessert and add homemade whipped cream or ice cream to the dish, but it is also perfect for breakfast or brunch.

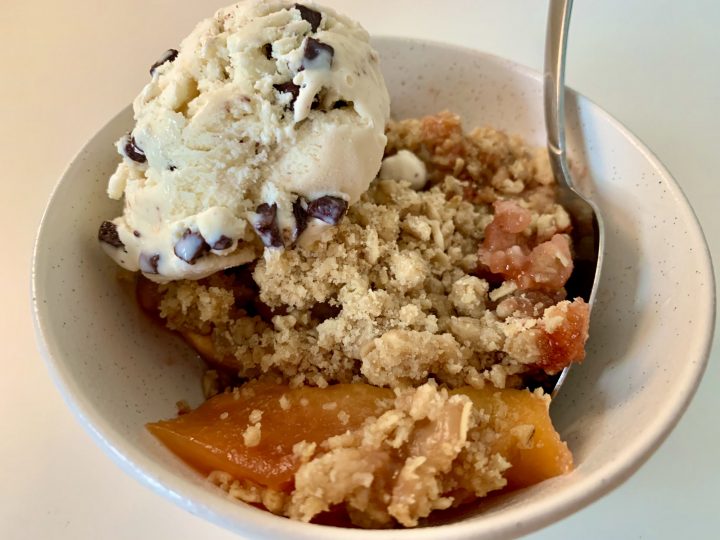
Everybody loves this treat right out of the over while it is still warm and the crumble is a little bit crispy.  If we have vanilla ice cream, we’ll add a small scoop.  If we have some other flavor ice cream, we’ll add that instead.

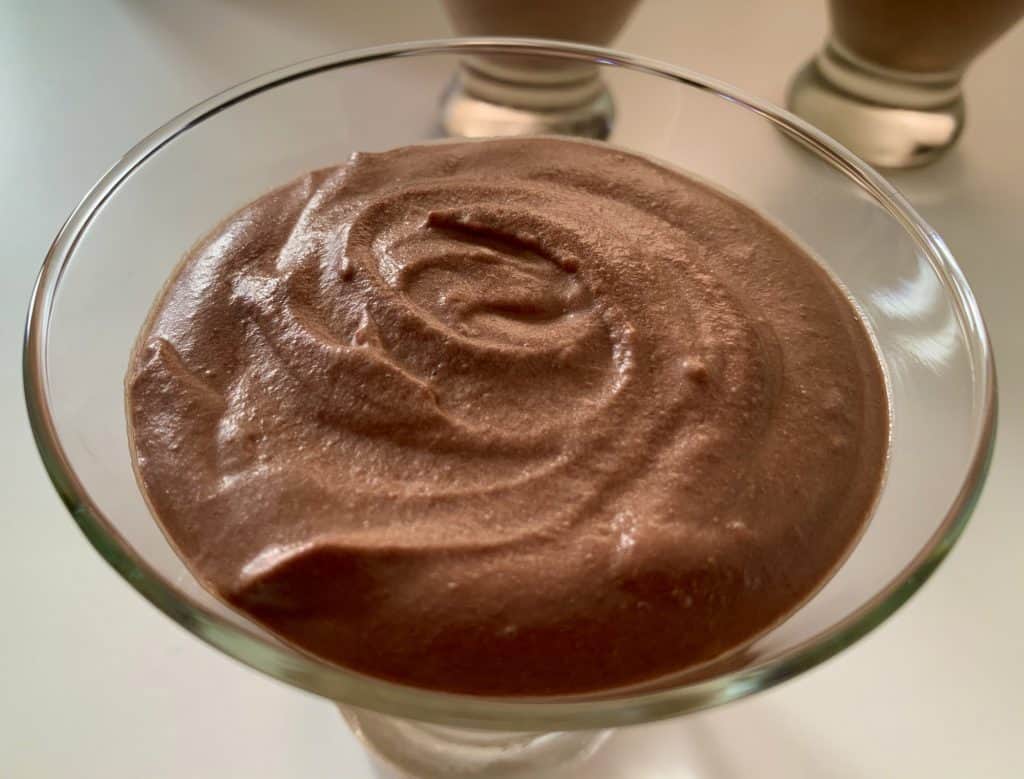
For something a little less sweet than ice cream to top off your Nectarine Strawberry Crumble, try adding a little whipped cream.  Yes, you can use whipped cream from the can, and it tastes fine, but why not whip up fresh homemade whipped cream.  It’s easy and quick to make, and it tastes fresh and incredible on top of fruit crumble.

Is it possible to use frozen fruit to make a good Nectarine Strawberry Crumble?  Yes, if you don’t have fresh fruit handy, then frozen fruit works great.  Note that frozen fruit will contain more water content, and if you like your crumble with more liquid, then it’ll be perfect.  When I use fresh fruit, I like to thicken up the liquid content by adding 1 tablespoon of corn starch to a the orange juice in the recipe.

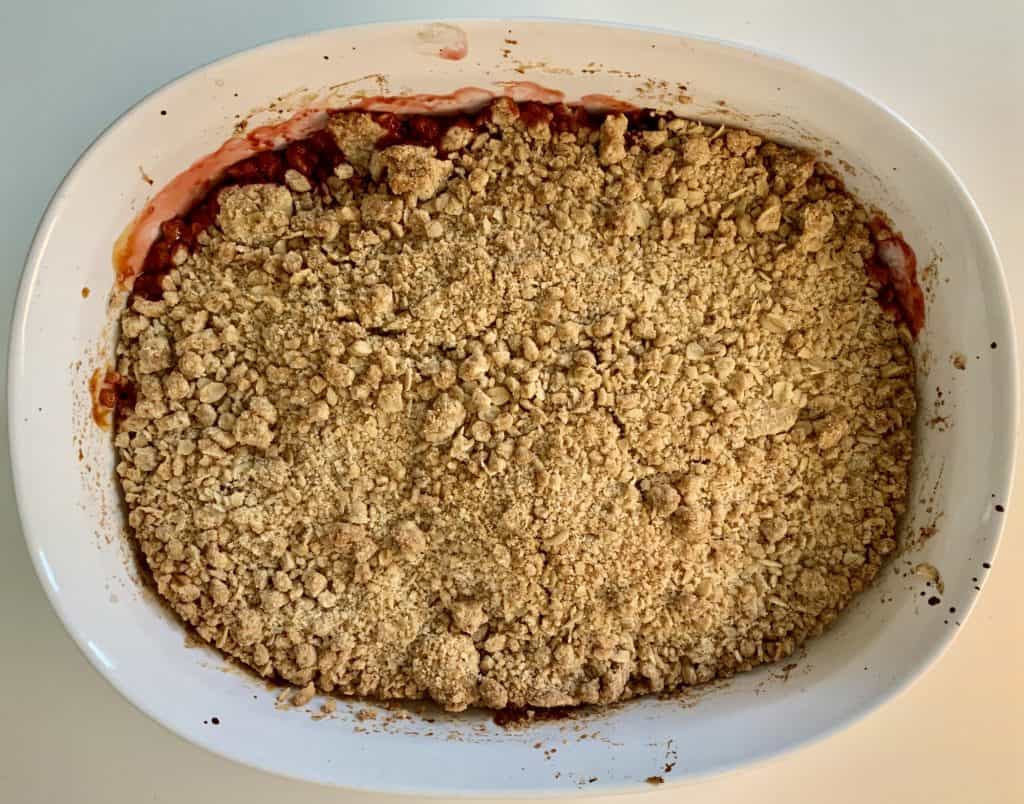
The baking pan that I use is a 2 1/2 quart ceramic baking dish.  You can also use glass or aluminum baking pans, and your crumble will bake fine.  However, I really like using ceramic whenever possible.  It just feels more natural to bake with one.  

As your Nectarine Strawberry Crumble is near the end of it’s time in the oven, you should be able to see the strawberry and fruit bubbling along the edges of the baking dish.  When you see that and the crumble looks a little bit browned and crisp, then it’s time to take it out of the oven.

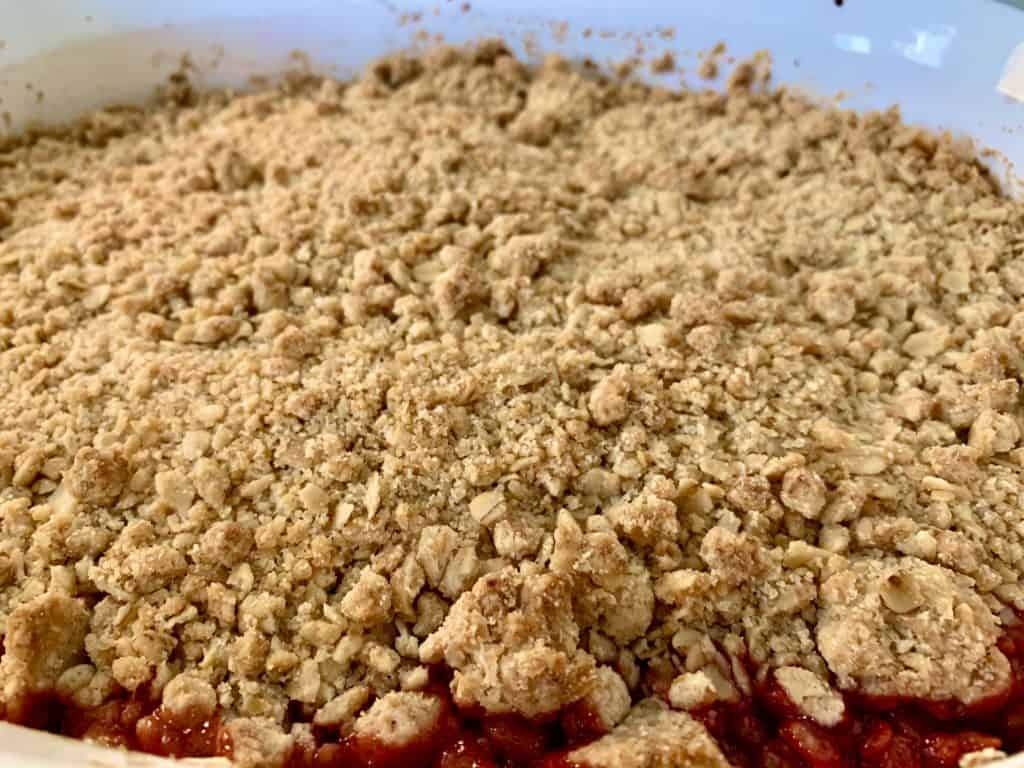
Ah, the smell at this point is irresistible, but don’t dig in quite yet.  You need to let it cool for at least 15 minutes before serving.  This would be a good time to make your homemade whipped cream if you’re taking that route.

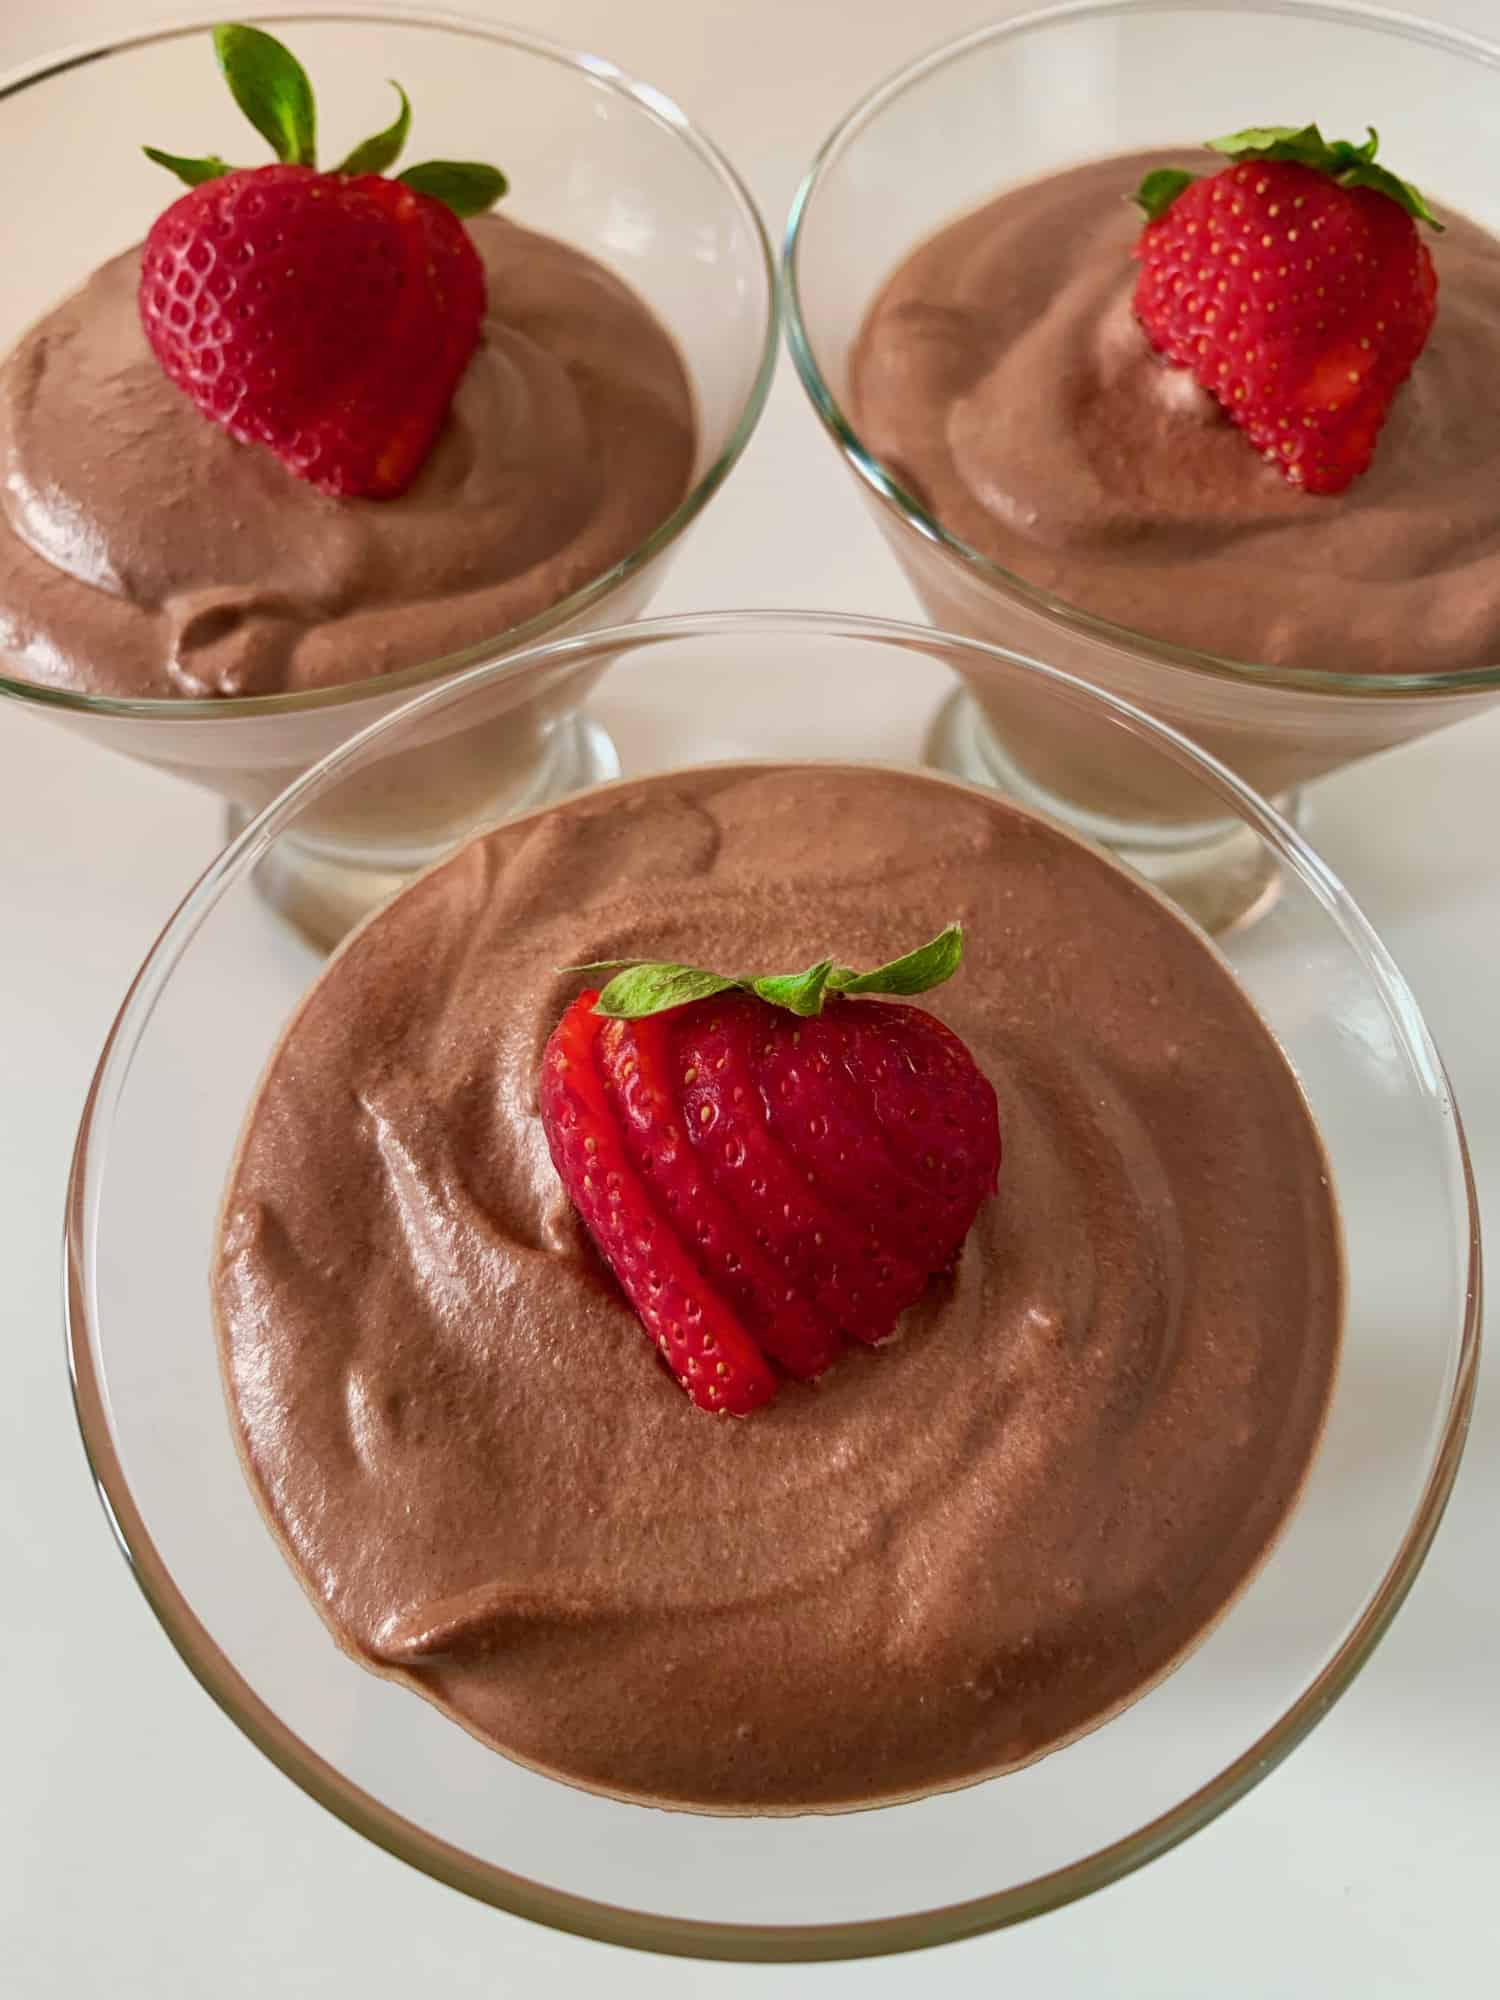
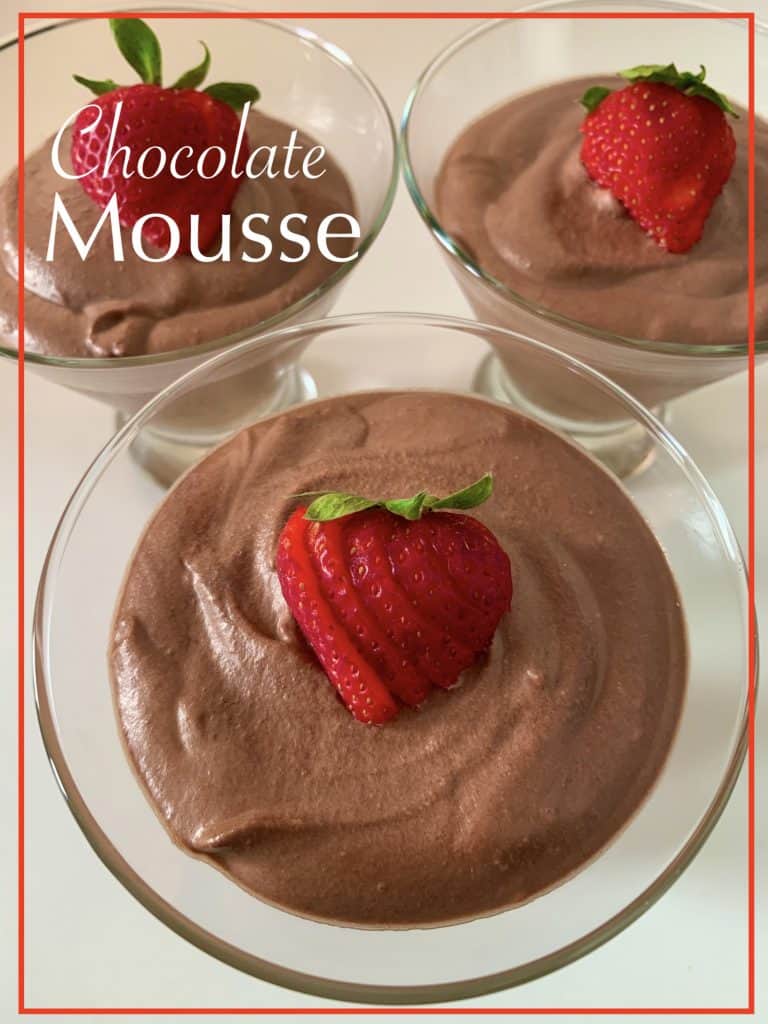
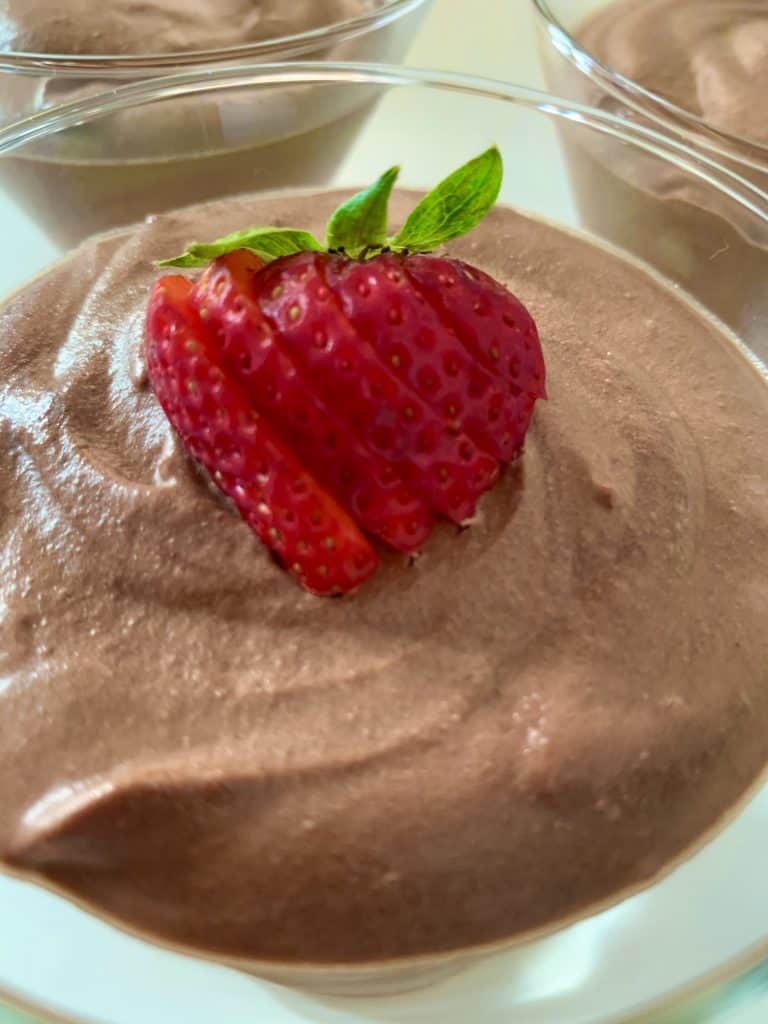
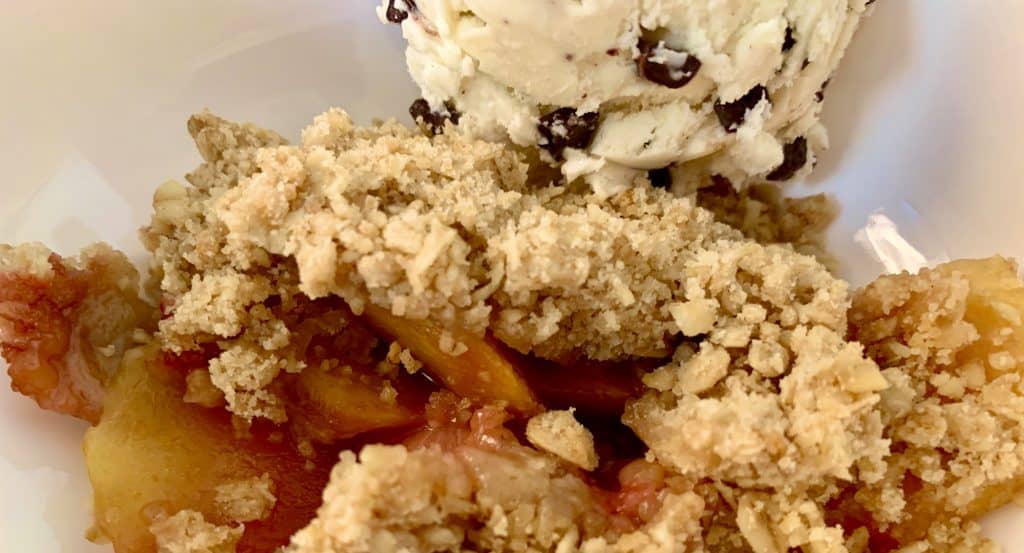
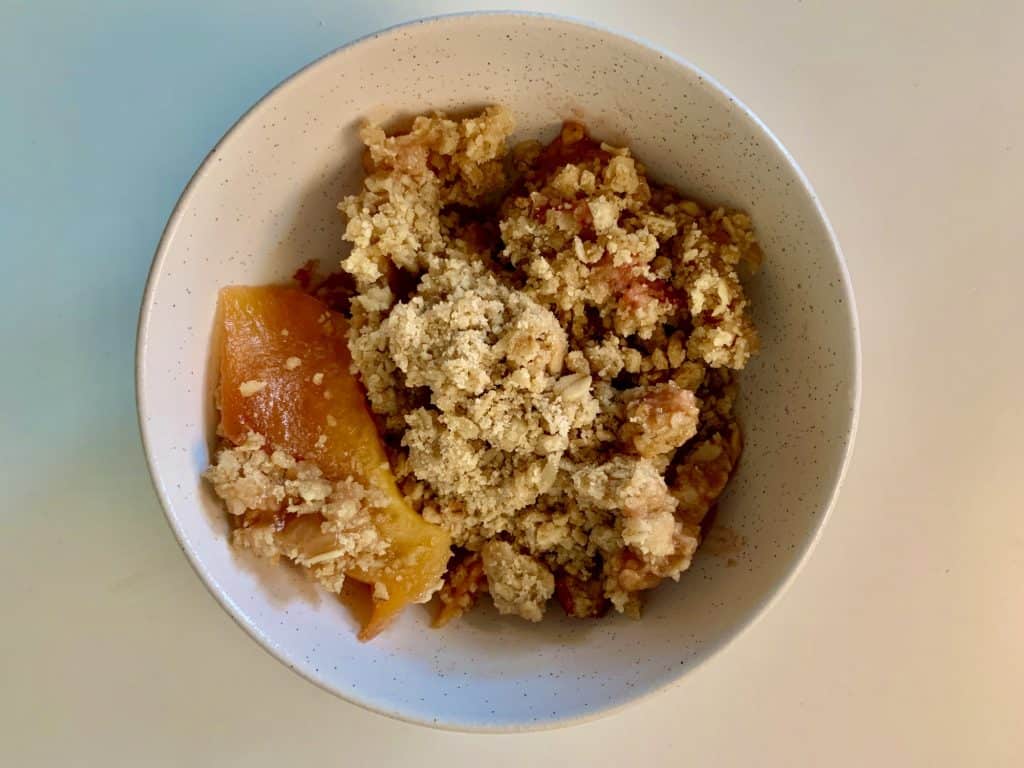
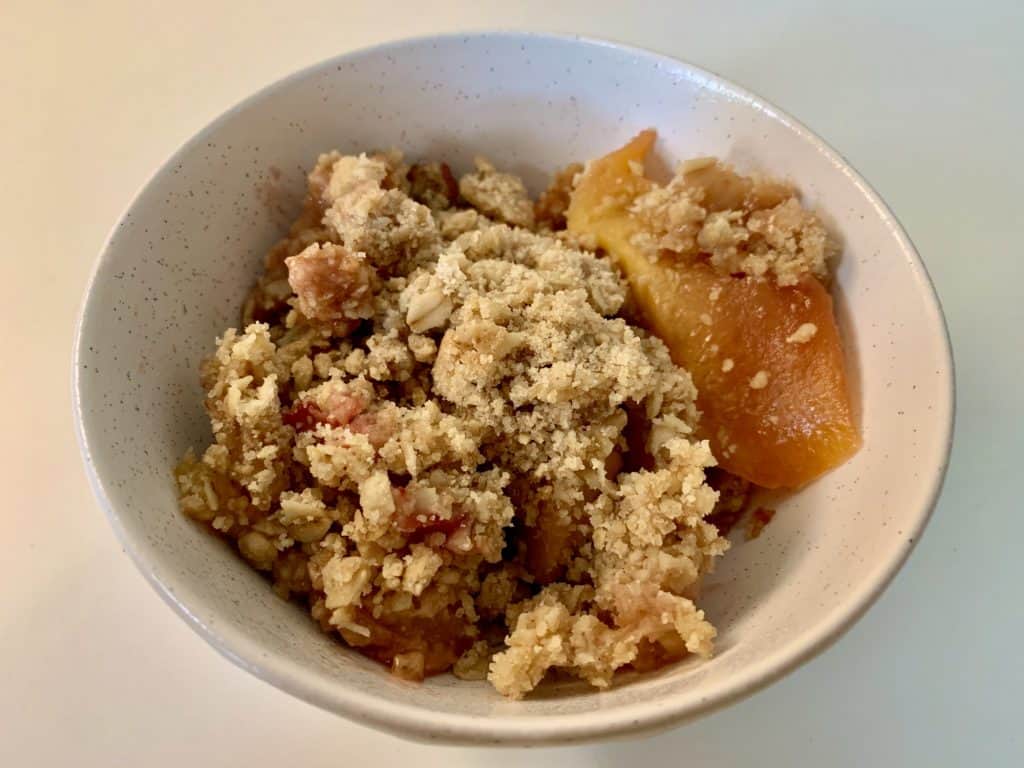
After 15 minutes, the crumble will still be warm enough to melt ice cream.  Ice cream turns this into dessert of course, and fruit crumbles make great breakfast or brunch dishes as well.  For brunch, I sometimes garnish my warm Nectarine Strawberry Crumble with a little whipped cream topped with a fresh strawberry.  Served with coffee, this is a perfect morning treat.

If you enjoyed this Nectarine Strawberry Crumble, try baking with other fruits like apples and peaches.  Enjoy!

Nectarine and Strawberry Crumble
Yield: 10

Nectarine and Strawberry Crumble

Prep Time: 20 minutes
Cook Time: 45 minutes
Additional Time: 15 minutes
Total Time: 1 hour 20 minutes

Nectarine Strawberry Crumble is good any time of year, but it's amazing when nectarines and strawberries are in season.

Ingredients

  • 5 cups nectarines, peeled and sliced
  • 1 cup strawberries, sliced
  • 2 tablespoons fresh squeezed orange juice
  • 1/4 cup brown sugar

Crumble

  • 1 cup oats
  • 1 cup flour
  • 1/2 cup brown sugar
  • 1/4 cup granulated sugar
  • 6 tablespoons melted butter
  • 1/4 teaspoon salt
  • 1 tablespoon vanilla extract
  • 1 tablespoon almond extract

Instructions

  1. Preheat oven to 350F.
  2. Add the dry ingredients to a medium mixing bowl to make the crumble.
  3. Melt the butter, then add the vanilla and almond extract to the melted butter.
  4. Add the butter mixture to the dry ingredients and use a pastry cutter or a fork to mix until crumbly.
  5. Add the sliced nectarines, strawberries, brown sugar, and orange juice in a bowl. Mix. Pour into a 2 1/2 quart baking pan.
  6. Bake for 40-45 minutes or until the crumble starts to bubble.
  7. Cool for 15 minutes and enjoy.

Nutrition Information:

Yield:

10

Serving Size:

1

Amount Per Serving: Calories: 255Total Fat: 8gSaturated Fat: 5gTrans Fat: 0gUnsaturated Fat: 3gCholesterol: 18mgSodium: 113mgCarbohydrates: 43gFiber: 3gSugar: 25gProtein: 3g

Semi-Sweet Chocolate Mousse

One of my favorite chocolate desserts to surprise my friends and family with is mousse.  Mousse is light.  Mouse is fluffy, and it’s a little taste of heaven.  When I have guests over for dinner, it is always fun to surprise them with this semi-sweet decadently delicious chocolate delight served in elegant dessert glasses and garnished with sliced fresh strawberries.  Wow!  That’s a lot of embelishment.

Yes, it’s true that chocolate mousse tastes great served in any type of dessert dish or cup, but it much more fun to make sure it looks as amazing as it tastes, especially after putting all the effort into preparing the dessert.

Chocolate mousse served in most restaurants is almost always way too sweet for my taste.  Sugar rush!  Too much sugar overwhelms the dessert’s other flavors.  I want to taste the chocolate and the fresh fruit, and I generally don’t like too much sugar in my desserts anyhow.  

I would prefer to have a little less sugar rather than a little too much, so I use semi-sweet chocolate chips and limit the amount of sugar added to the mousse itself.  In fact, I will sometime make this recipe with 1/2 a teaspoon less sugar, and I think it still tastes great, maybe even better.

If you like desserts on the sweeter side, then use the full 2 tablespoons of sugar called for in the recipe.  I know my daughter would add 4 tablespoons of sugar if given the choice.


The texture of a good mousse should be thick and light, so that when you scoop out that first spoonful, the dessert holds it’s consistency.  That’s what makes a great mousse along with the flavor.

After you’ve mastered the technique and recipe for making this mousse, try some additional flavors and recipes.  There are so many wonderful flavor possibilities with mousse.  Enjoy!


Chocolate Mousse
Yield: 6

Chocolate Mousse

Prep Time: 15 minutes
Cook Time: 15 minutes
Additional Time: 2 hours
Total Time: 2 hours 30 minutes

Try this semi-sweet chocolate mousse dessert. It's light and fluffy and goes perfectly with fresh strawberries..

Ingredients

  • 8 ounces semi-sweet chocolate chips
  • 1 tablespoon cocoa powder
  • 5 tablespoons water
  • 1 tablespoon rum
  • 2 large eggs, separated
  • 1 tablespoon sugar
  • 1/8 teaspoon salt
  • 1 cup heavy cream, chilled

Instructions

  1. Combine the chocolate, water, cocoa, and rum in a heatproof metal bowel set over a saucepan filled with 1 1/2 inches simmering water. Stir until the chocolate is melted. Set aside, and let it cool slightly.
  2. Whisk the egg yolks, 1 1/2 teaspoons sugar, and salt together in a medium bowl until it thickens slightly. Add the melted chocolate to the egg mixture and whisk together. Let it cool for 5 minutes.
  3. Add the egg whites to a medium bowl. Whisk with an electric hand mixer at low speed until foamy. Add the remaining sugar to the whipped egg whites. Turn up the mixer to medium-high speed and whisk until the the foam has firm peaks.
  4. Stir about 1/2 the whipped egg whites into the chocolate mixture to lighten the color. Using a rubber spatular, fold in the remaining whipped egg white very gently until there are no white streaks.
  5. Spoon mousse into 6 individual serving dishes. Cover with plastic wrap and refrigerate for at least 2 1/2 hours until firm.

Nutrition Information:

Yield:

6

Serving Size:

1

Amount Per Serving: Calories: 356Total Fat: 27gSaturated Fat: 16gTrans Fat: 1gUnsaturated Fat: 9gCholesterol: 107mgSodium: 81mgCarbohydrates: 28gFiber: 2gSugar: 24gProtein: 5g

Passion Fruit Mochi Cake

An alternative cake for gluten free and dairy-free diets, Passion Fruit Mochi Cake has coconut milk and sweet rice flour as ingredients .  Plus the passion fruit purée gives the cake a unique and exotic tropical flavor.  I substitute melted butter for vegetable oil.  It requires ¼ cup of neutral oil such as sunflower oil.

The sweet rice flour is made of short-grain glutinous rice or “sticky rice “.  It adds the sticky texture needed in a good Mochi cake. This cake is dense and delicious.  It is moist and chewy.  Mochiko is the brand of glutinous rice flour I used.    

It takes about 1 hour and 10 minutes to prepare and bake, and this yummy Mochi Cake is super easy to make.

What is Passion Fruit?

If you aren’t familiar with it, passion fruit is a flavorful tropical fruit from South America.  It is egg shaped and you can normally find for two types in the market: a purple passion fruit and a yellow passion fruit.  The pulp has a lot of seeds which are eatable or can be strained out and removed.  The smell is sweet and aromatic.  It tastes a little acidic and is often mixed with sugar or another sweetener.  In the US, I find passion fruit as a purée and in the frozen section of Latino markets.  You can also find Passion Fruit Puree on Amazon.

Brazilian cuisine has many savory sauces, desserts, and beverages flavored with passion fruit pulp.  The yellow variety is more popular and found all year round in many supermarkets in Latin America.

How to use the Passion Fruit Purée in desserts?

I used frozen passion fruit pulp, Goya brand.  I recommend defrosting the purée first and leaving it for about 2 hours in the refrigerator in order to separate the pulp of the passion fruit from the water. Pour out the water and save the pulp. The more concentrated pulp will add more flavor to your dessert.  The Boiron brand comes as a large amount, so you can defrost it, separate what you don’t need, and refreeze the rest for later use. 

Mochi Cake Ingredients

  1. Preheat the oven to 350°F and adjust the oven rack to the center.
  2. Place the parchment baking paper on the bottom of the round baking pan. There is no needed to grease the pan.
  3. Flour: Use the medium bowl to mix the sweet rice flour, baking powder and salt.
  4. Mixture: Use the large bowl to mix the sugar and sunflower oil.  Whisk for a couple of minutes, then add the eggs one at the time and beat well until the color changes to a pale light yellow.
  5. Liquids: Add the coconut milk, passion fruit pulp, and vanilla extract and mix well.
  6. Combine all ingredients: Gradually add the flour mixture into the creamy ingredients. Try to mix gently.
  7. Time to bake: Pour the mixture into the pan and bake for 45-55 minutes.  Let cool completely before serving.  Dust with powder sugar after the cake cools.  Serve at room temperature. 

Equipment you’ll need:

1 medium bowl for the dry ingredients

1 large bowl for mixing the all the ingredients

Measuring cups (1 cup, ½ cup and ¼ cup sizes)

Measuring spoons (1 teaspoon and ¼ teaspoon)

1 silicone spatula

1 medium size whisk

Round baking pan (9-inch) 

Parchment baking paper


How to Serve

  • Dessert
  • Potluck
  • Lunch box to school


PASSION FRUIT MOCHI CAKE | Gluten-Free |  Dairy-Free
Yield: 10 Servings

PASSION FRUIT MOCHI CAKE | Gluten-Free | Dairy-Free

Additional Time: 10 minutes
Prep Time: 15 minutes
Cook Time: 1 hour
Total Time: 1 hour 25 minutes

If you like mochi cake and passion fruit, then this is the recipe for you. The passion fruit adds just the right amount of fruitiness without overwhelming the taste buds. It still tastes like mochi.

Ingredients

  • 2 cups glutinous rice flour (sweet rice flour or Mochiko)
  • 1/4 teaspoon salt
  • 1 1/2 teaspoon baking powder
  • 1/4 cup vegetable oil
  • 1 cup sugar
  • 2 eggs, at room temperature
  • 1 cup unsweetened coconut milk (full fat)
  • 1/2 cup passion fruit puree
  • 1 teaspoon pure vanilla extract

Instructions

  1. Place the rack in the center of the oven and preheat the oven for 350° F. Use a 9-inch springform pan, line the bottom with parchment paper.
  2. In a medium bowl, whisk to combine the glutinous rice flour, salt, and baking powder. Set aside.
  3. Using a large bowl, add the sugar and the eggs. Beat the ingredients until creamy. Add the vegetable oil, and whisk the cream mixture until a pale yellow color. Pour the passion fruit puree and whisk well. Add the coconut milk and the vanilla extract and whisk to incorporate all the liquids. Gradually add the dry ingredients into the mixture and whisk together.
  4. Pour the batter into a pan lined with parchment paper.
  5. Bake at 350° F until medium golden brown, 55-60 minutes.
  6. Let the cake cool completely.
  7. Dust with confectioner's sugar before serving (optional).

Notes

Set the passion fruit puree in the refrigerator for 2 hours or overnight, so the concentrated pulp sinks to the bottom and the light "watery" passion fruit syrup remains on top.

Nutrition Information:

Yield:

10

Serving Size:

1

Amount Per Serving: Calories: 237Total Fat: 7gSaturated Fat: 1gTrans Fat: 0gUnsaturated Fat: 6gCholesterol: 37mgSodium: 147mgCarbohydrates: 40gFiber: 2gSugar: 21gProtein: 4g